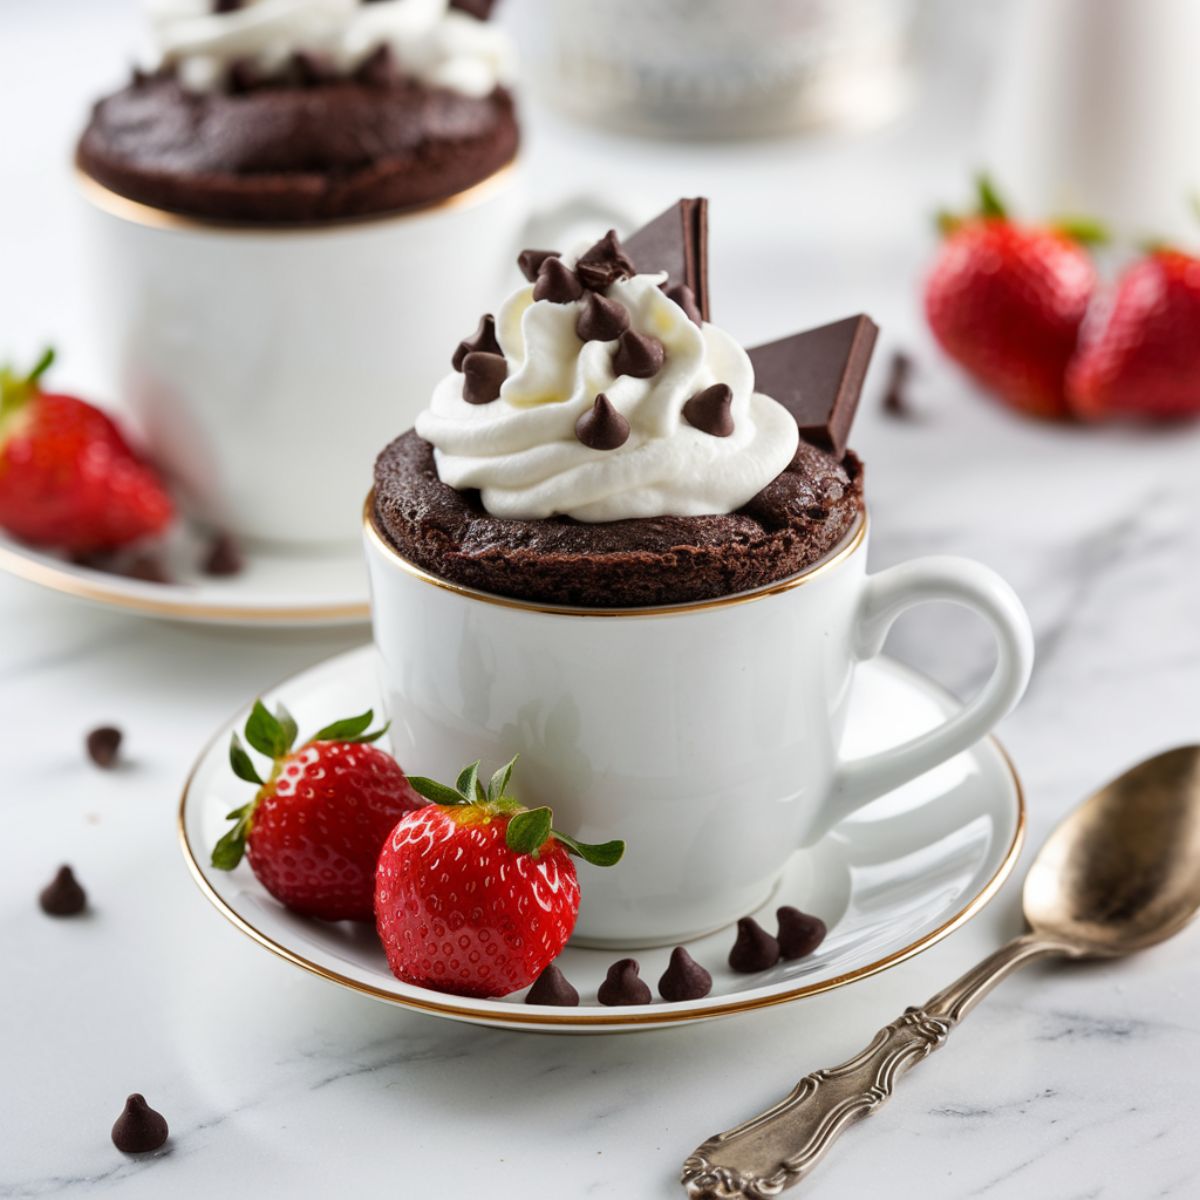
Craving a warm, gooey chocolate dessert but don't want to wait? This chocolate lava mug cake recipe delivers all the indulgence of a restaurant-style molten chocolate cake in just 5 minutes. Perfect for those late-night chocolate cravings or when you need a quick dessert to impress, this single-serving treat features a tender chocolate cake exterior with an irresistibly rich, molten chocolate center.

Why You'll Love This Chocolate Lava Mug Cake Recipe
This recipe transforms simple pantry ingredients into a decadent dessert that rivals any fancy restaurant version. The beauty of this molten lava chocolate mug cake lies in its simplicity - mix, microwave, and enjoy. Whether you're cooking for one or looking for a fun dessert activity with kids, this recipe delivers consistent results with minimal cleanup.
Jump to:
Ingredients
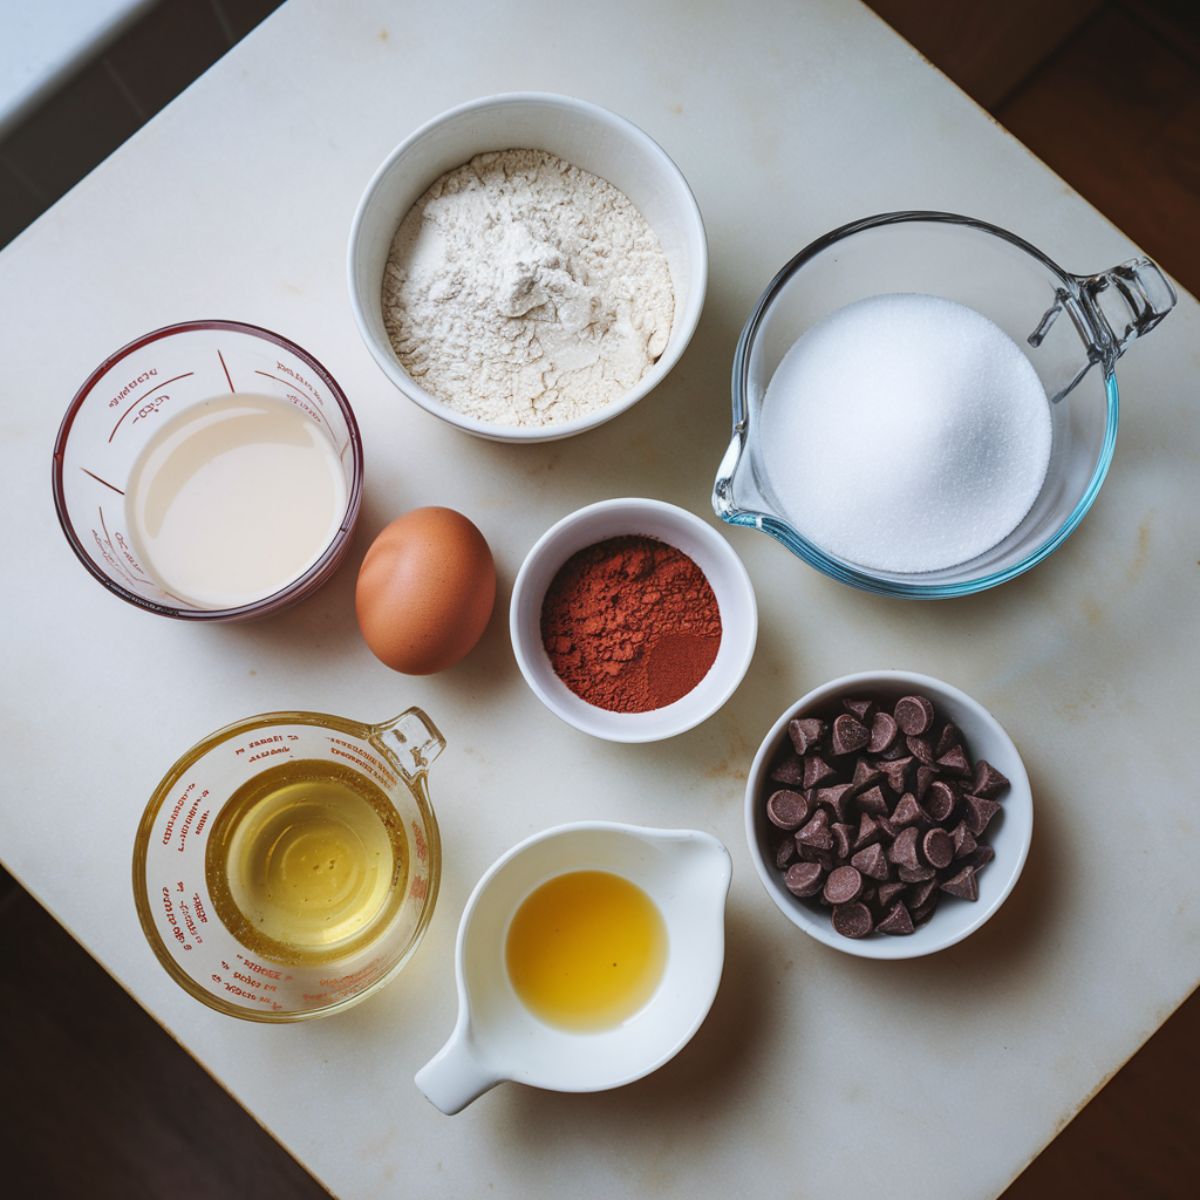
the cake:
- 4 tablespoons all-purpose flour
- 4 tablespoons granulated sugar
- 2 tablespoons unsweetened cocoa powder
- 1 large egg
- 3 tablespoons milk
- 3 tablespoons vegetable oil
- ¼ teaspoon vanilla extract
- 1 ounce chocolate chips or chopped dark chocolate
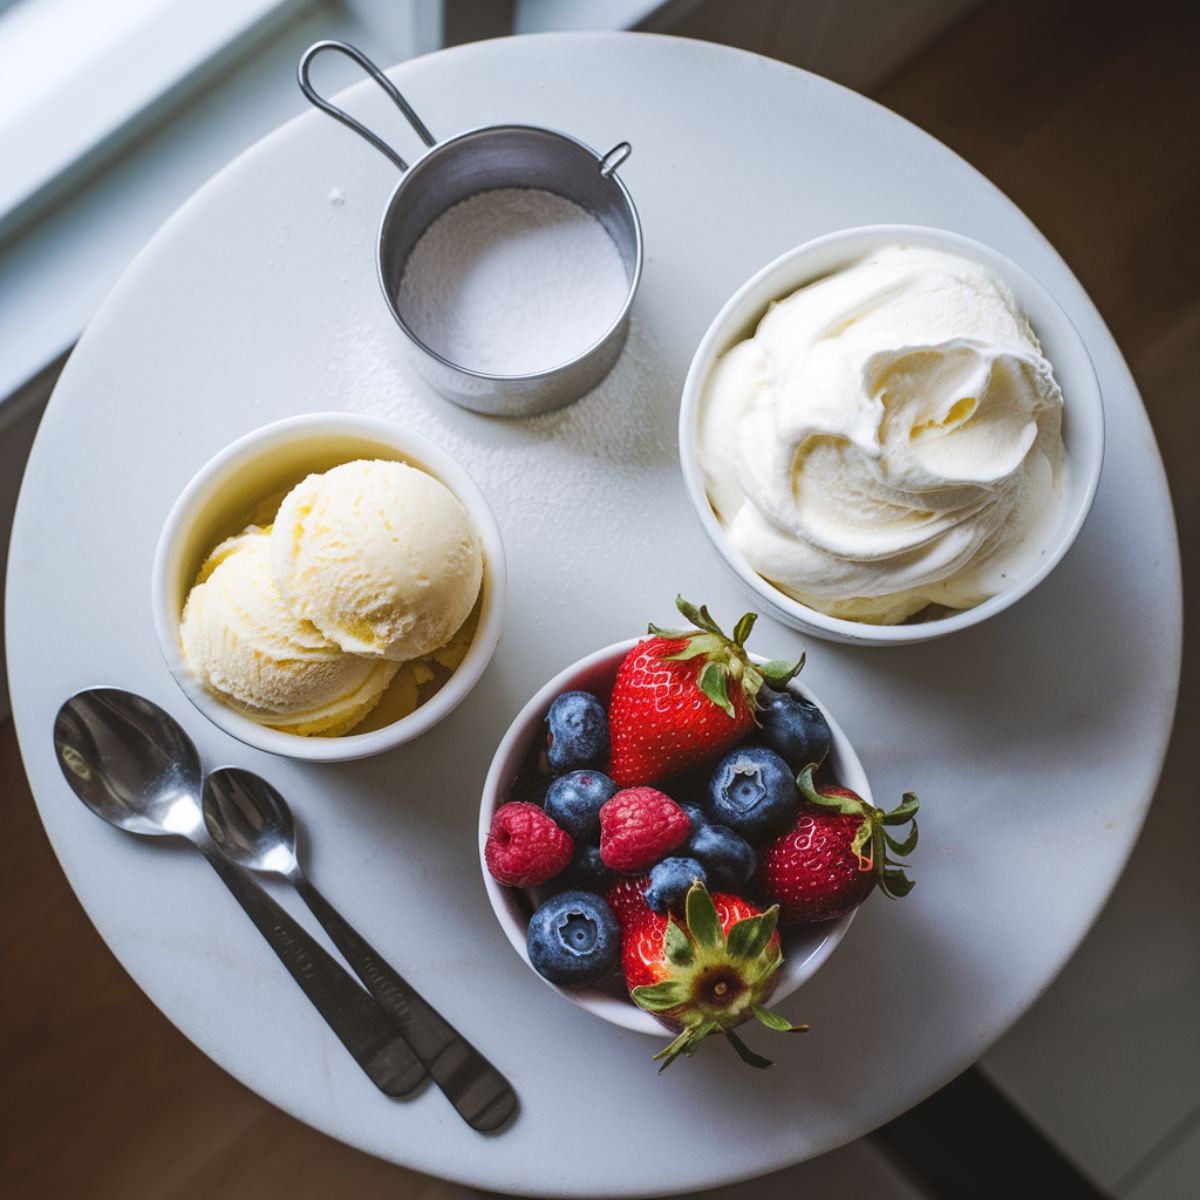
serving (optional):
- Vanilla ice cream
- Fresh berries
- Powdered sugar
- Whipped cream
Instructions
Prepare Your Mug
Lightly grease a microwave-safe mug with cooking spray or butter. This ensures your cake will release easily when eating.
Mix Dry Ingredients
In your mug, combine the flour, sugar, and cocoa powder. Whisk together until well blended and no cocoa powder lumps remain.
Add Wet Ingredients
Add the egg and mix well. Pour in the milk, oil, and vanilla extract. Stir until you have a smooth batter, making sure to scrape the bottom and sides of the mug.
Add the Chocolate Center
Add the chocolate chips or chopped chocolate to the center of the batter, gently pushing them down slightly but not all the way to the bottom.
Cook
Microwave on high for 1-1.5 minutes. Cooking time may vary depending on your microwave's power. The cake is done when the top looks set but still slightly moist. Don't overcook, or you'll lose the molten center
Recipe Variations
Make it Gluten-Free
Substitute the all-purpose flour with almond flour or your favorite gluten-free flour blend.
Double Chocolate Version
Add an extra tablespoon of cocoa powder and use dark chocolate chips for an intensely chocolate experience.
Peanut Butter Lover's Version
Add a dollop of peanut butter to the center along with the chocolate for a peanut butter chocolate lava cake.
Storage Instructions
This chocolate lava mug cake is best enjoyed immediately while the center is warm and molten. We don't recommend storing it, as the texture won't be the same once cooled.
Equipment For Chocolate Lava Mug Cake Recipe
- 12-ounce microwave-safe mug
- Measuring spoons
- Small whisk or fork
- Microwave
Top Tip
- Use room temperature ingredients for the smoothest batter
- Don't overmix the batter once you've added the wet ingredients
- Choose high-quality chocolate for the center - it makes a difference!
- Watch carefully during cooking - even 10 seconds too long can make you lose the molten center
- Let the cake rest for 1 minute before eating
FAQ
Can I make this chocolate lava mug cake without an egg?
Yes! Replace the egg with ¼ cup of mashed banana or 3 tablespoons of applesauce. The texture will be slightly different but still delicious.
Why isn't my center molten?
The most common reason is overcooking. Start with 1 minute and add time in 10-second increments if needed. Remember, the cake will continue cooking slightly as it stands.
Can I make this ahead of time?
While it's best fresh, you can mix the dry ingredients ahead of time and store them in an airtight container. Add wet ingredients just before cooking.
What's the best chocolate to use for the center?
Semi-sweet or dark chocolate works best. Chocolate chips are convenient, but chopped chocolate bars will give you a smoother, more luxurious molten center.
HOW DID YOUR CHOCOLATE LAVA MUG CAKE RECIPE TURN OUT?
How did your Chocolate Lava Mug Cake Recipe turn out? Ready to savor something new? This recipe is sure to impress with its perfect balance of rich, gooey chocolate center and fluffy, moist cake. The individual serving size makes it an ideal indulgence when a decadent dessert craving strikes. If you're a fan of quick, microwavable treats and delightful flavor contrasts, be sure to try our Strawberry Cupcakes Recipe next - another easy-to-make yet delicious treat that features the natural sweetness of strawberries in cupcake form!
Did you make this Chocolate Lava Mug Cake Recipe? We'd love to hear about your experience! Leave a star rating and share your thoughts in the comments. Did you try any creative twists like adding a scoop of ice cream on top, mixing in espresso powder for a mocha flavor, or stuffing the center with a chocolate truffle? Perhaps you experimented with using different types of chocolate or even substituted Nutella for an alternate filling? Your feedback not only helps others but also contributes to our growing community of home cooks looking to recreate and customize this single-serve sensation. Don't forget to share a photo showcasing the irresistible molten center when you dive in with a spoon!
Related
Looking for other recipes like this? Try these:
Pairing
These are my favorite dishes to serve with Chocolate Lava Mug Cake Recipe
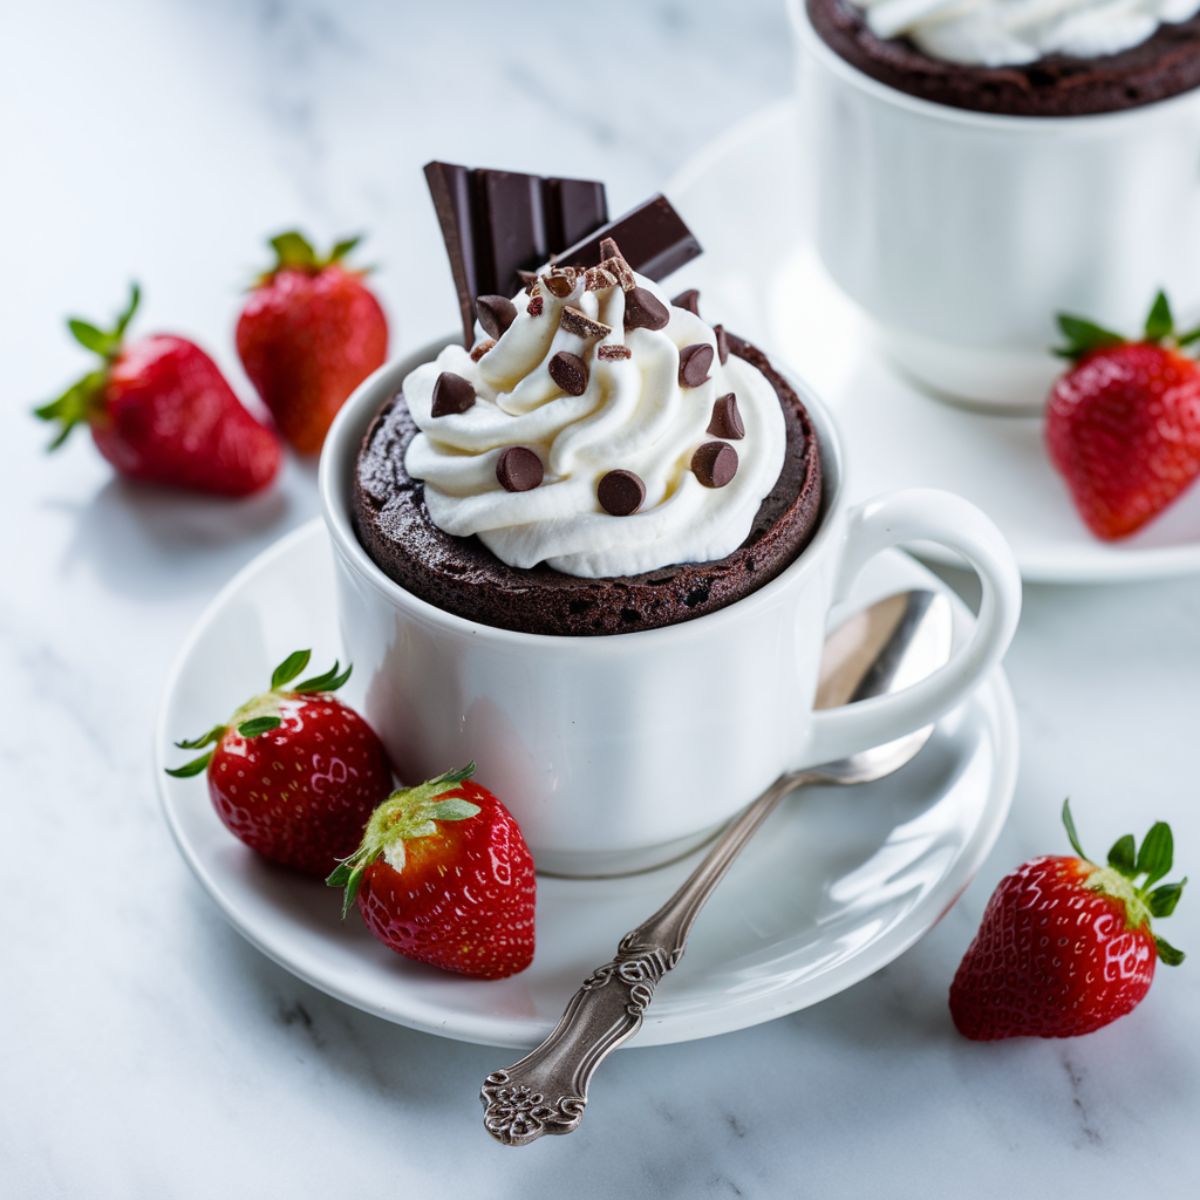
Chocolate Lava Mug Cake Recipe
Ingredients
Equipment
Method
- Lightly grease a 12-ounce microwave-safe mug.
- In the mug, mix flour, sugar, and cocoa powder until well combined.
- Add egg and mix well. Pour in milk, oil, and vanilla extract. Stir until smooth.
- Add chocolate chips to the center of the batter, pushing them down slightly.
- Microwave on high for 1-1.5 minutes until top looks set but still slightly moist.
- Let stand 1 minute before serving.

Leave a Reply