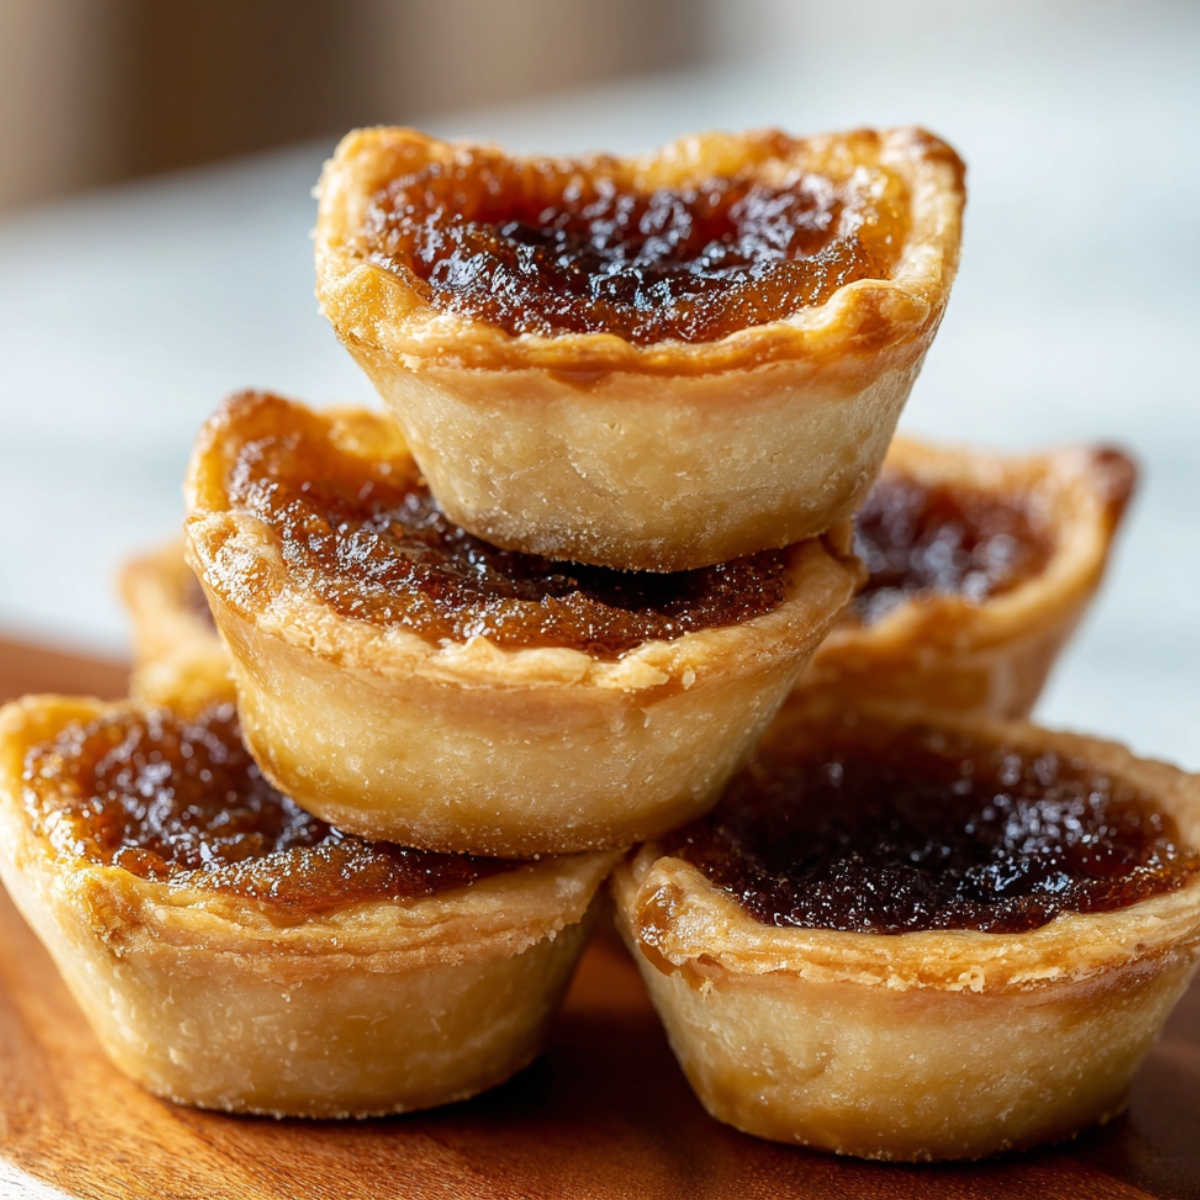
When my Canadian friend Sarah brought these butter tarts to our neighborhood potluck last year, I had no idea what I was missing. One bite of that gooey, caramelized filling in the flaky pastry shell and I was completely hooked. After begging her for the recipe and learning it came from her grandmother in Ontario, I've made them at least twenty times since. These little tarts are like tiny pieces of Canadian heaven that somehow manage to be both simple and fancy at the same time.
Why You'll Love This Butter Tarts Recipe
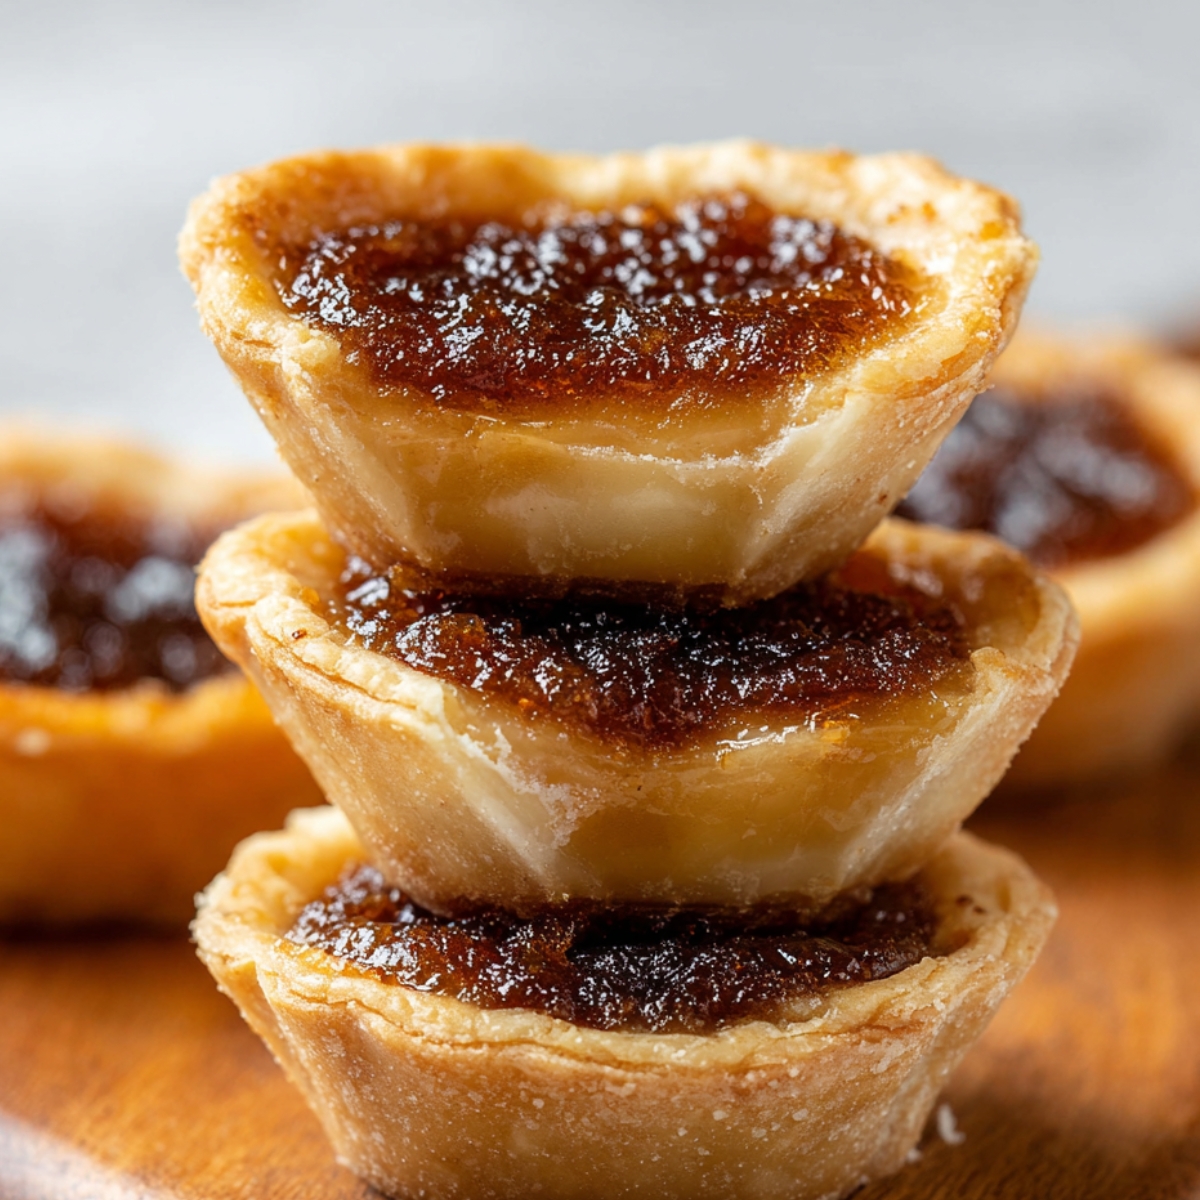
These butter tarts have become my secret weapon for impressing people who think they've tried every dessert out there. Most Americans have never heard of them, so when I show up with a plate of these golden beauties, everyone gets curious. Then they take that first bite and their eyes get wide - it's like watching people discover a whole new category of delicious. I brought them to my book club last month, and three people immediately asked where I bought them because they couldn't believe I made something that looked so professional.
What really gets me about these tarts is how they hit that sweet spot between fancy bakery treat and homestyle comfort food. The filling is rich and gooey without being too sweet, and that flaky pastry shell gives you just enough texture contrast to keep things interesting. liam was skeptical at first because he'd never seen anything like them, but now he asks me to make "the Canadian cookies" whenever his friends come over. Even my husband, who usually prefers chocolate everything, admits these are pretty great. Plus, they're way easier to make than they look, which means I can feel fancy without actually breaking my back in the kitchen.
Jump to:
Butter Tarts Ingredients
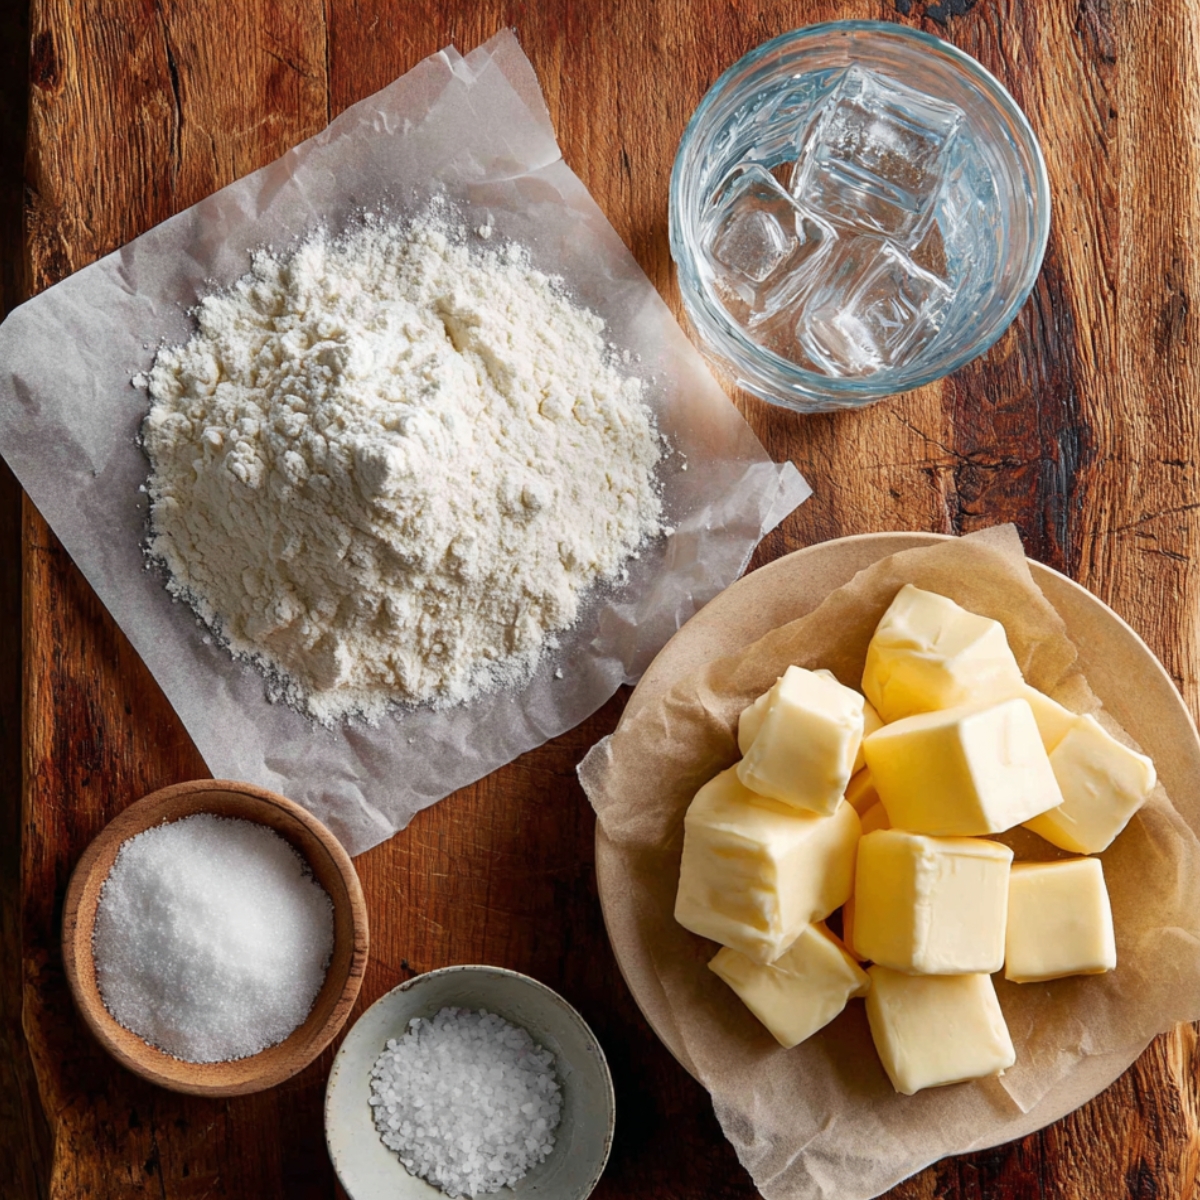
The Pastry Shells:
- All-purpose flour
- Cold butter
- Ice water
- Salt
- Sugar
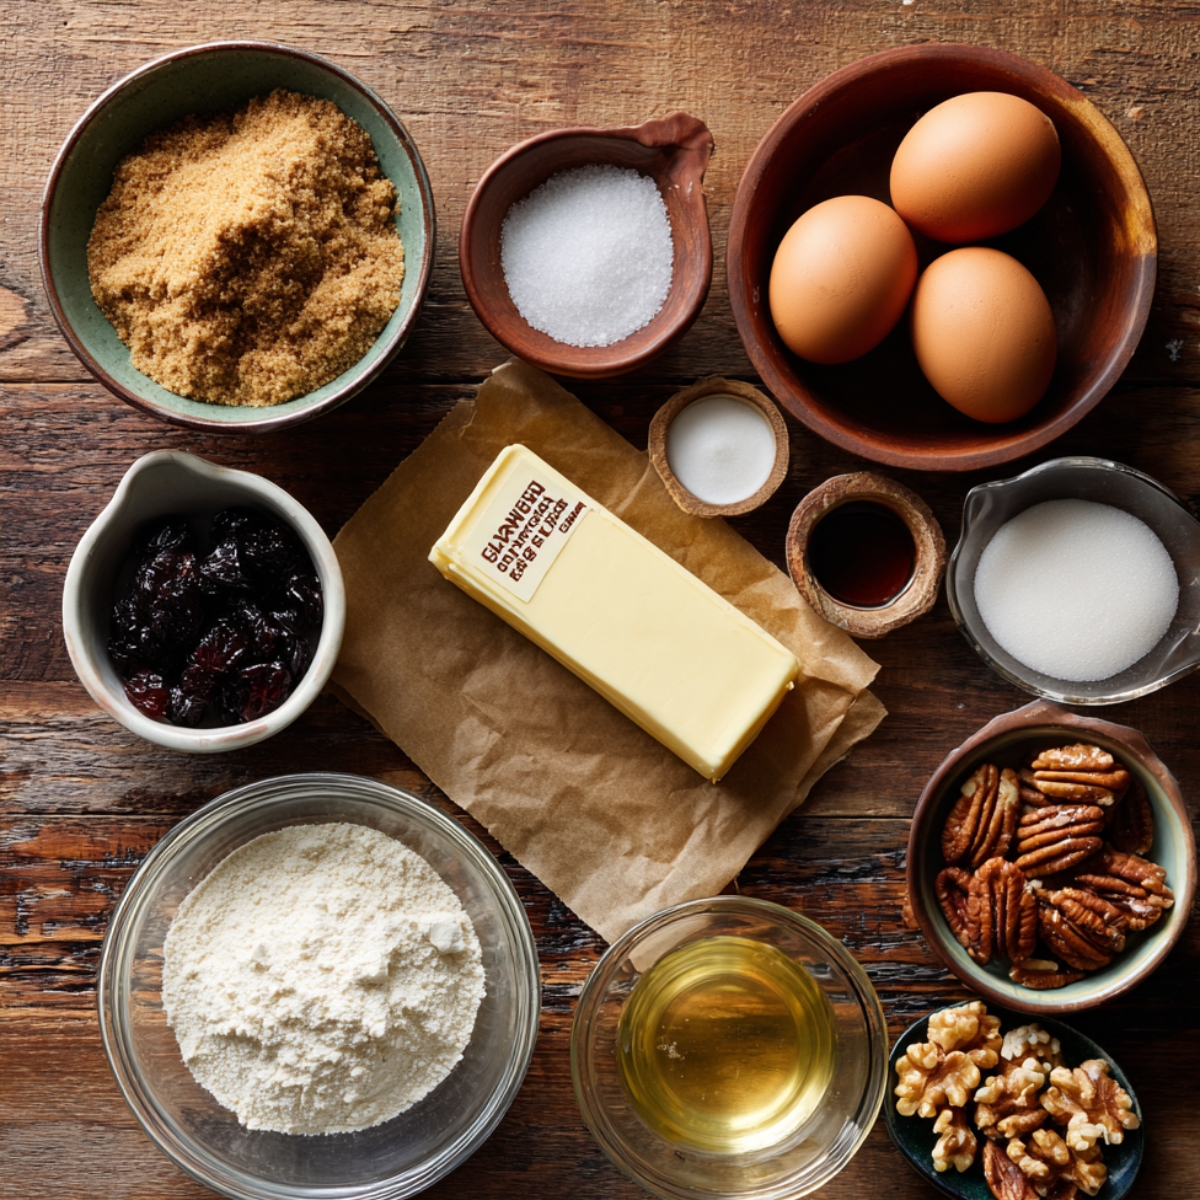
The Gooey Filling:
- Brown sugar
- Butter
- Large eggs
- White corn syrup
- Vanilla extract
- Salt
Optional Add-ins:
- Raisins
- Chopped pecans
- Walnuts
- Nothing at all
See recipe card for quantities.
Step by Step Method
Make the Pastry:
- Cut cold butter into flour and salt
- Add ice water gradually until dough forms
- Wrap in plastic and chill 30 minutes
- Roll out and cut circles for tart shells
Prepare Tart Shells:
- Press dough into muffin cups
- Trim edges neatly
- Prick bottoms with fork
- Chill while making filling
Create the Filling:
- Whisk brown sugar and melted butter
- Beat in eggs one at a time
- Add corn syrup and vanilla
- Mix until smooth
Assembly Time:
- Add raisins or nuts to shells if using
- Pour filling ¾ full into each shell
- Don't overfill or they'll overflow
- Tap pan gently to settle
Bake to Perfection:
- 375°F for 15-20 minutes
- Filling should be set but still jiggly
- Don't overbake or filling gets hard
- Cool completely in pan
Substitutions
Pastry Options:
- Homemade → Store-bought tart shells
- Regular → Gluten-free flour blend
- Butter → Shortening for flakier crust
- Standard → Pre-made pie crust
Filling Alternatives:
- Corn syrup → Maple syrup (more Canadian!)
- Brown sugar → Coconut sugar
- Regular eggs → Flax eggs for vegan
- Butter → Vegan butter
Add-in Choices:
- Raisins → Dried cranberries
- Pecans → Walnuts or almonds
- Traditional → Chocolate chips
- Standard → Skip add-ins entirely
Sweetener Swaps:
- Corn syrup → Honey
- Brown sugar → Raw sugar
- Regular → Sugar-free alternatives
- Standard → Pure maple syrup
Storage Tips For Butter Tarts Recipe
Counter Storage (3-4 days):
- Store in airtight container
- Single layer to prevent sticking
- Room temperature is fine
- Don't refrigerate unless very hot weather
Longer Storage (1 week):
- Refrigerate in covered container
- Bring to room temp before serving
- Filling firms up when cold
- Still taste great chilled
Freezer Storage (2 months):
- Freeze in single layer first
- Transfer to freezer bags
- Thaw at room temperature
- Texture stays perfect
Transport Tips:
- Use containers with dividers
- Don't stack them
- Handle gently
- Filling can shift if jostled
Equipment
- Standard muffin tin
- Large mixing bowl
- Pastry cutter or food processor
- Rolling pin
- Round cookie cutter
- Measuring cups
Tasty Twists on Traditional Butter Tarts
Maple Pecan:
- Replace corn syrup with pure maple syrup
- Add chopped toasted pecans
- Extra maple flavor
- True Canadian upgrade
Chocolate Chip:
- Mini chocolate chips in filling
- Skip the raisins
- Kid-approved version
- Modern twist on classic
Coconut Raisin:
- Add shredded coconut
- Keep the traditional raisins
- Tropical meets Canadian
- Interesting texture combo
Bourbon Vanilla:
- Add splash of bourbon to filling
- Extra vanilla extract
- Grown-up version
- Perfect for holidays
Cranberry Orange:
- Dried cranberries instead of raisins
- Orange zest in filling
- Bright, festive flavors
- Holiday party winner
Top Tip
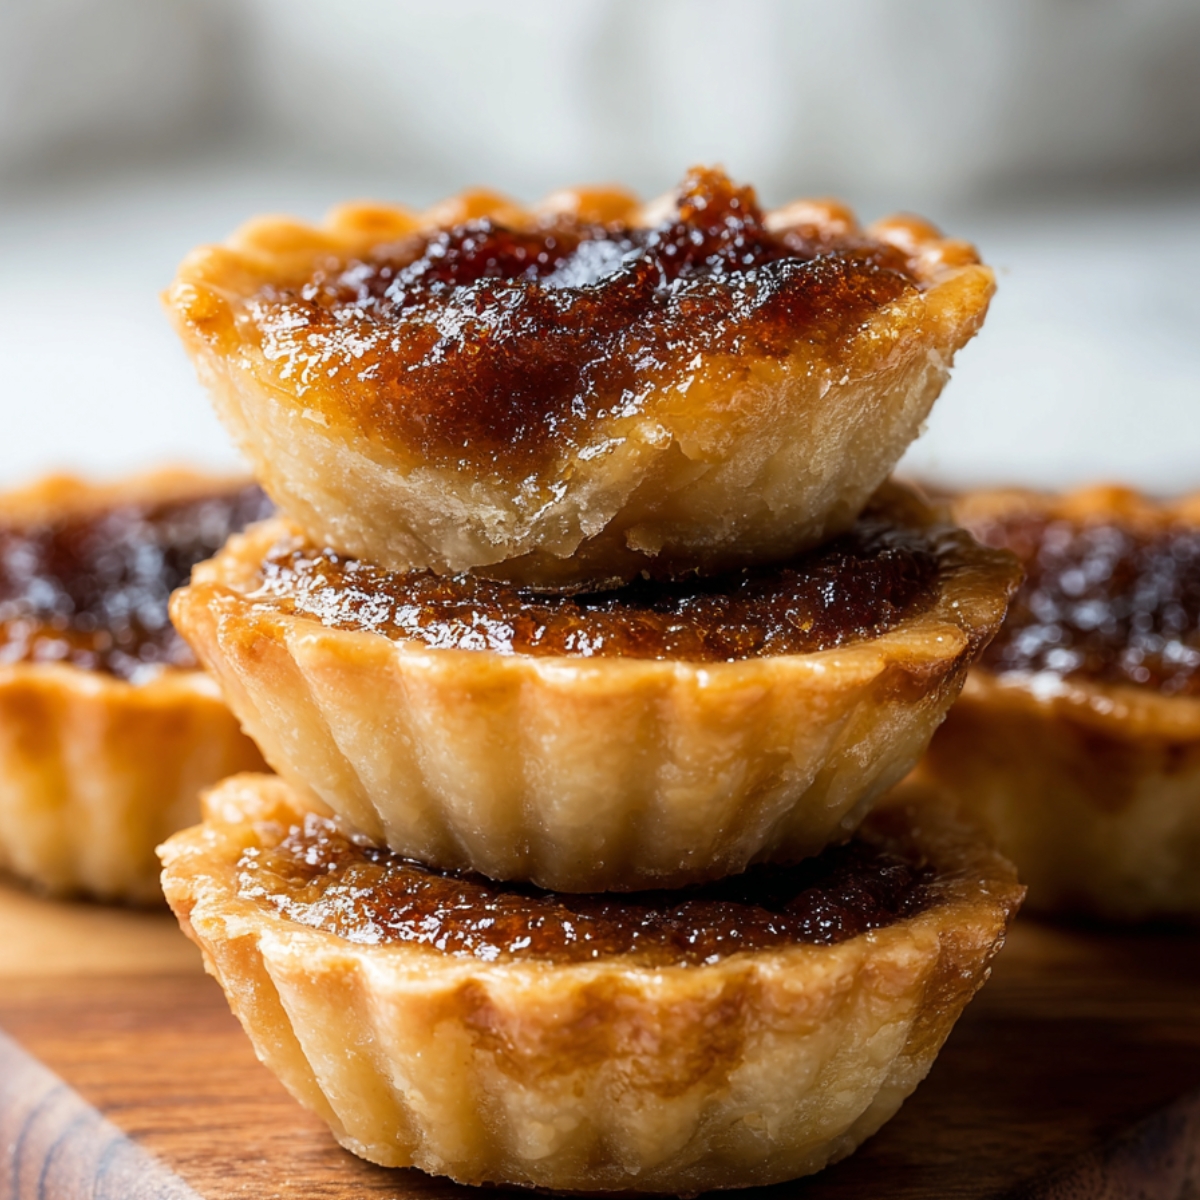
- From making these countless times and learning from my mistakes, here's what makes the biggest difference - getting that filling consistency just right is everything. Most people either underfill them and end up with sad, flat tarts, or overfill them and watch the filling bubble over the edges and make a sticky mess in the oven. You want to fill each shell about ¾ full, which gives the filling room to puff up during baking without overflowing.
- Here's the trick Sarah's grandmother taught me that changed everything - the filling should still have a slight jiggle when you take the tarts out of the oven. I know it seems scary to pull them out when they don't look completely set, but they'll continue cooking from the residual heat and firm up as they cool. If you bake them until the filling is completely solid, you'll end up with hard, candy-like centers instead of that signature gooey texture that makes butter tarts so special.
- The other game-changer is making sure your pastry is properly chilled before you fill it. Room temperature pastry will shrink during baking and your filling will overflow into the gaps. I learned this the hard way when I tried to rush the process and ended up with lopsided tarts that looked like they'd been in a fight. Now I always chill the formed shells for at least 15 minutes before adding the filling, even if I'm in a hurry.
My Aunt's Secret Worth Sharing
My Aunt learned this trick during her honeymoon in Prince Edward Island back in 1987, straight from a little bakery owner who'd been making butter tarts for forty years. Instead of just melting the butter for the filling, she browns it first until it gets nutty and golden, then lets it cool slightly before mixing it with the brown sugar. "It's all about that extra flavor layer," she told me while we were making a batch together last Christmas.
But her real secret weapon is adding just a tiny splash of apple cider vinegar to the filling - maybe half a teaspoon for a whole batch. It sounds weird, but that little bit of acid cuts through all the sweetness and makes the flavors pop in a way that regular butter tarts just can't match. The vinegar also helps keep the filling from getting too hard when it cools, so you get that great gooey texture every single time. Now every batch I make uses Aunt method, and people always ask what makes my butter tarts taste different from the ones they've had before.
FAQ
What is butter tart made of?
Butter tarts are made with a flaky pastry shell filled with a mixture of brown sugar, butter, eggs, and corn syrup. The filling creates this amazing gooey, caramel-like center when baked. Some people add raisins or nuts, but the basic version is just that sweet, buttery filling in pastry.
Do they have butter tarts in the USA?
Not really - butter tarts are pretty much a Canadian thing. Most Americans have never heard of them, which is why they're such a hit when I bring them to parties. You might find them in some Canadian bakeries in border towns, but they're not common in regular American bakeries.
Are butter tarts runny or firm?
Good butter tarts should be somewhere in between - the filling should be set but still have a gooey, slightly jiggly center when you bite into them. If they're too runny, they're underbaked. If they're firm and hard, they're overbaked. That perfect gooey consistency is what makes them special.
What does a butter tart taste like?
They taste like a cross between pecan pie filling and caramel custard, but not as sweet as either one. The brown sugar and butter create this rich, buttery flavor with hints of caramel, and the pastry adds a nice flaky contrast. They're sweet but not overwhelming, with a unique flavor you won't find in other desserts.
Time to Bring Canada to Your Kitchen!
Now you have all the secrets to making perfect butter tarts - from getting that gooey filling just right to Aunt Linda's brown butter and vinegar trick. These little Canadian treasures prove that sometimes the best desserts are the ones that tell a story, connect you to a place, and make people curious about where they came from. They've made me appreciate how food can be a bridge between cultures and traditions, and honestly, they've turned me into a bit of a butter tart evangelist who can't stop talking about them to anyone who'll listen.
Ready for more treats that'll expand your baking horizons and give you new favorites to master? Try our Easy Cookie Monster Cinnamon Rolls that turn breakfast into a party with their bright blue color and hidden cookie surprises. Want something perfect for fall gatherings? Our Easy Pumpkin Bars Recipe Ready in 15 minutes! delivers all those warm spice flavors with way less effort than pie. Or brighten up your kitchen with our Easy Moist Lemon Zucchini Cake that uses up garden produce while creating something absolutely delicious.
Share your butter tart success! We love seeing your gooey creations and hearing about whose taste buds you've introduced to this Canadian classic!
⭐️⭐️⭐️⭐️⭐️ Rate this Butter Tarts Recipe and join our international baking family!
Related
Looking for other recipes like this? Try these:
Pairing
These are my favorite dishes to serve with Butter Tarts

Butter Tarts
Ingredients
Equipment
Method
- Cut cold butter into flour, salt, and sugar until crumbly. Add ice water gradually until dough forms. Wrap in plastic wrap and chill for 30 minutes.
- Roll dough to ⅛-inch thick, cut circles, and press into muffin tin cups. Trim edges, prick bottoms with fork, and chill 15 minutes.
- Whisk brown sugar and melted/browned butter. Beat in eggs one at a time. Stir in corn syrup (or maple), vanilla, salt, and vinegar if using.
- Add raisins or nuts to shells if desired. Fill each shell about ¾ full with filling.
- Bake at 375°F (190°C) for 15-20 minutes until filling is set but still slightly jiggly.
- Cool completely in the pan before removing. Store as desired.

Leave a Reply