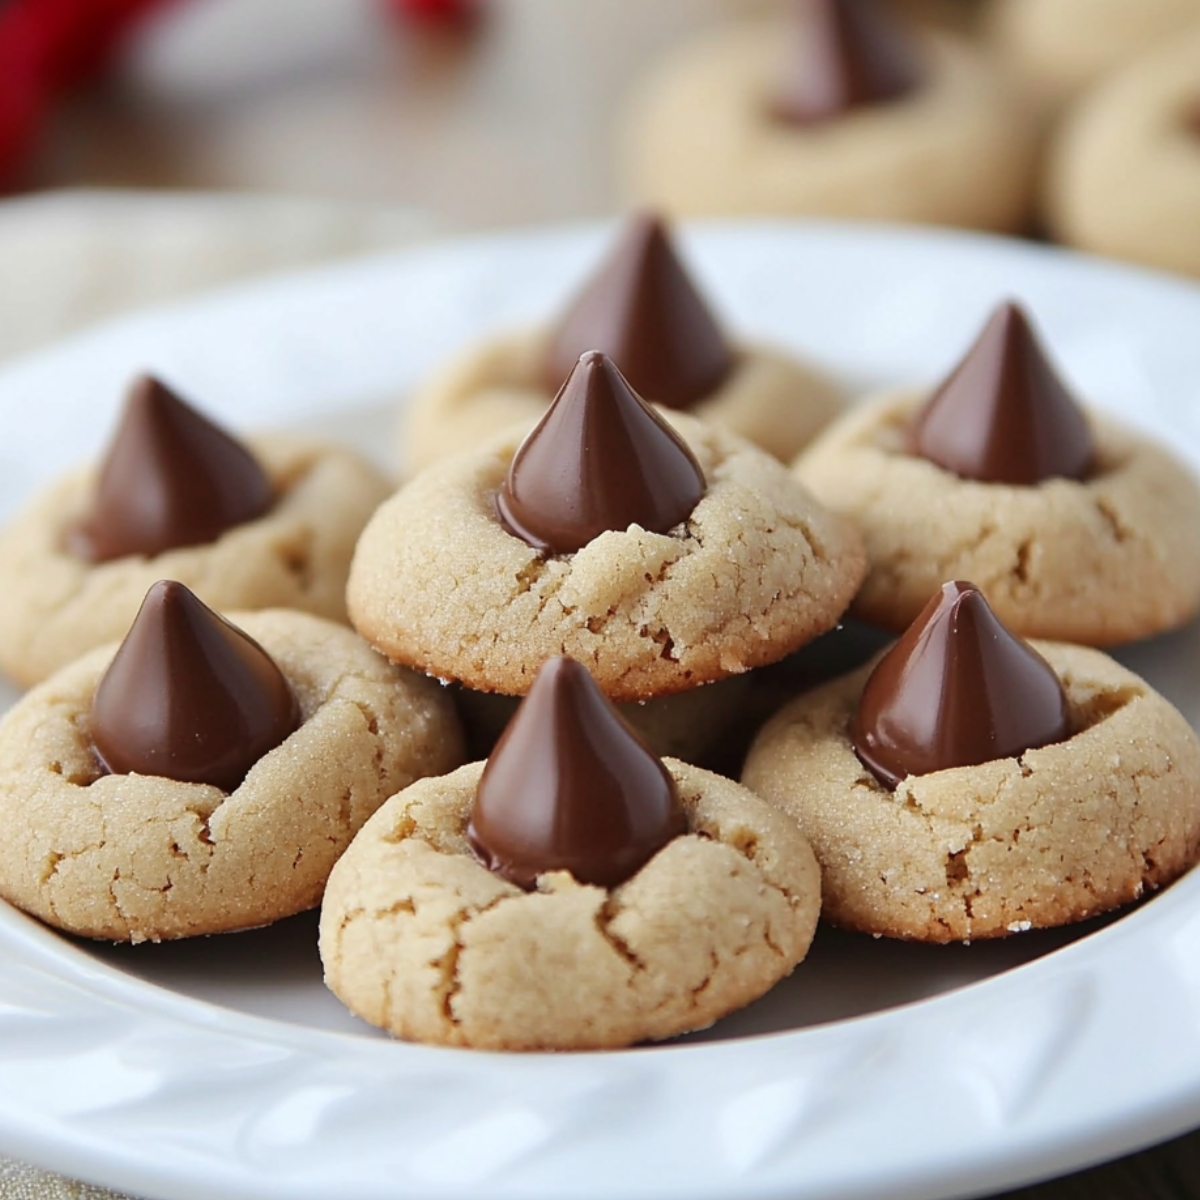
There's something magical about Hershey Kiss cookies that takes me right back to childhood holiday baking. After perfecting this recipe through countless batches with Liam as my eager assistant, I've discovered the secrets to making these classic treats turn out perfectly every time. The combination of a soft, tender cookie base crowned with that iconic foil-wrapped chocolate kiss creates a treat that's both nostalgic and irresistible. While traditional recipes often include peanut butter, this versatile version works beautifully with or without, making it perfect for classrooms with allergy concerns.

Why You'll Love These Hershey Kiss Cookies
After bringing these Hershey Kiss cookies to countless school events, family gatherings, and holiday cookie exchanges, I've seen firsthand why they're always the first to disappear from the dessert table. These cookies create the perfect balance between simplicity and satisfaction that keeps everyone coming back for "just one more."
What makes these Hershey Kiss Cookies truly special is their versatility. The base recipe creates wonderfully soft cookies that stay fresh for days, while offering endless opportunities for personalization. Whether you prefer the classic peanut butter version or want to experiment with different flavors, the formula works beautifully every time. The magic moment comes when you press the chocolate kisses into the warm cookies - watching them settle slightly into the soft centers creates that perfect marriage of textures.
I especially appreciate how these Hershey Kiss Cookies bring generations together. Liam loves unwrapping the kisses and pressing them into the cookies, just like I did with my grandmother years ago. There's something deeply satisfying about sharing a recipe that spans decades yet remains just as delightful today.
Jump to:
Hershey Kiss Cookies Ingredients
The Cookie Base:
- All-purpose flour
- Granulated sugar
- Brown sugar
- Unsalted butter
- Eggs
- Vanilla extract
- Baking soda
- Salt
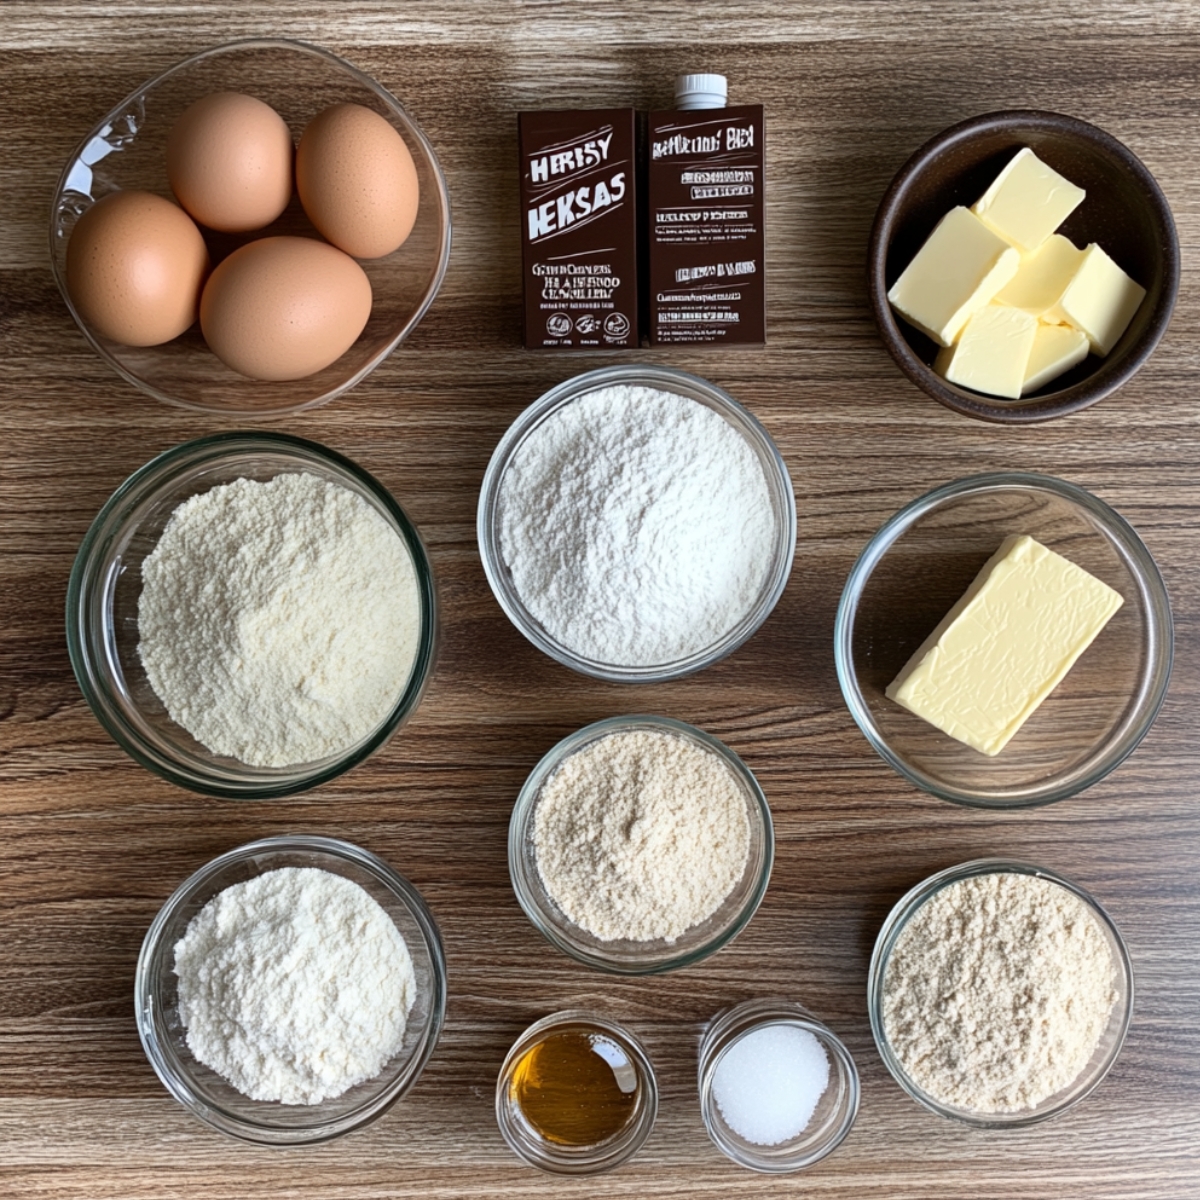
The Star Topping:
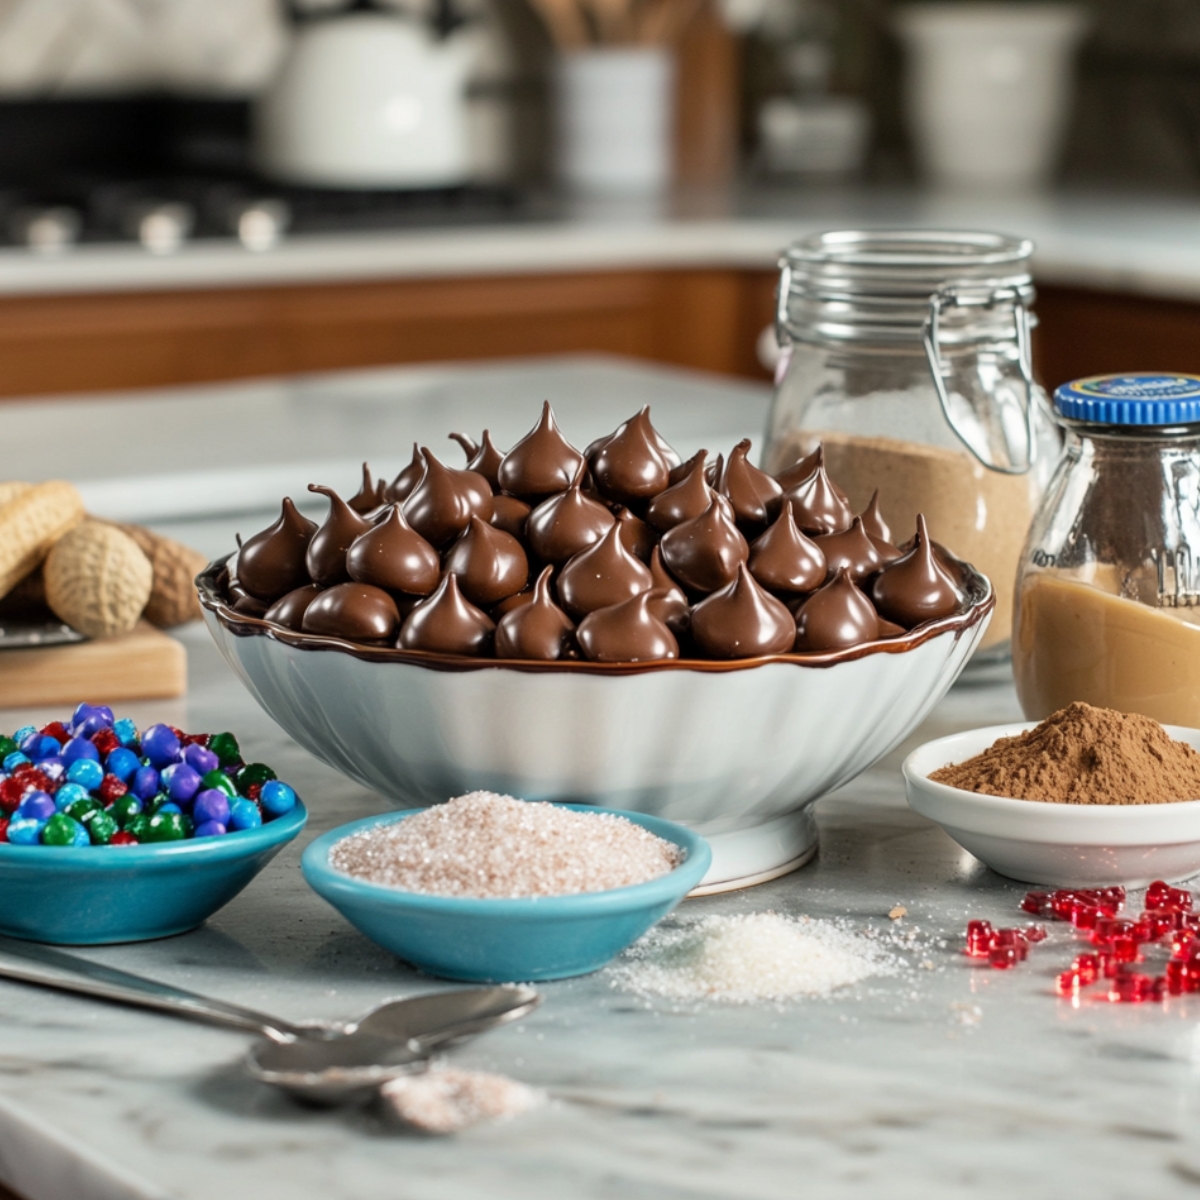
- Hershey's Kisses
- Optional rolling sugar
Optional Flavor Boosters:
- Peanut butter
- Almond extract
- Cinnamon
- Colored sugar
See recipe card for quantities.
How To Make Hershey Kiss Cookies
Prep Your Kitchen
- Preheat oven to 350°F
- Line baking sheets with parchment paper
- Unwrap Hershey Kisses (a perfect job for little helpers!)
- Set out butter to reach room temperature
- Gather all ingredients before starting
Mix the Perfect Dough
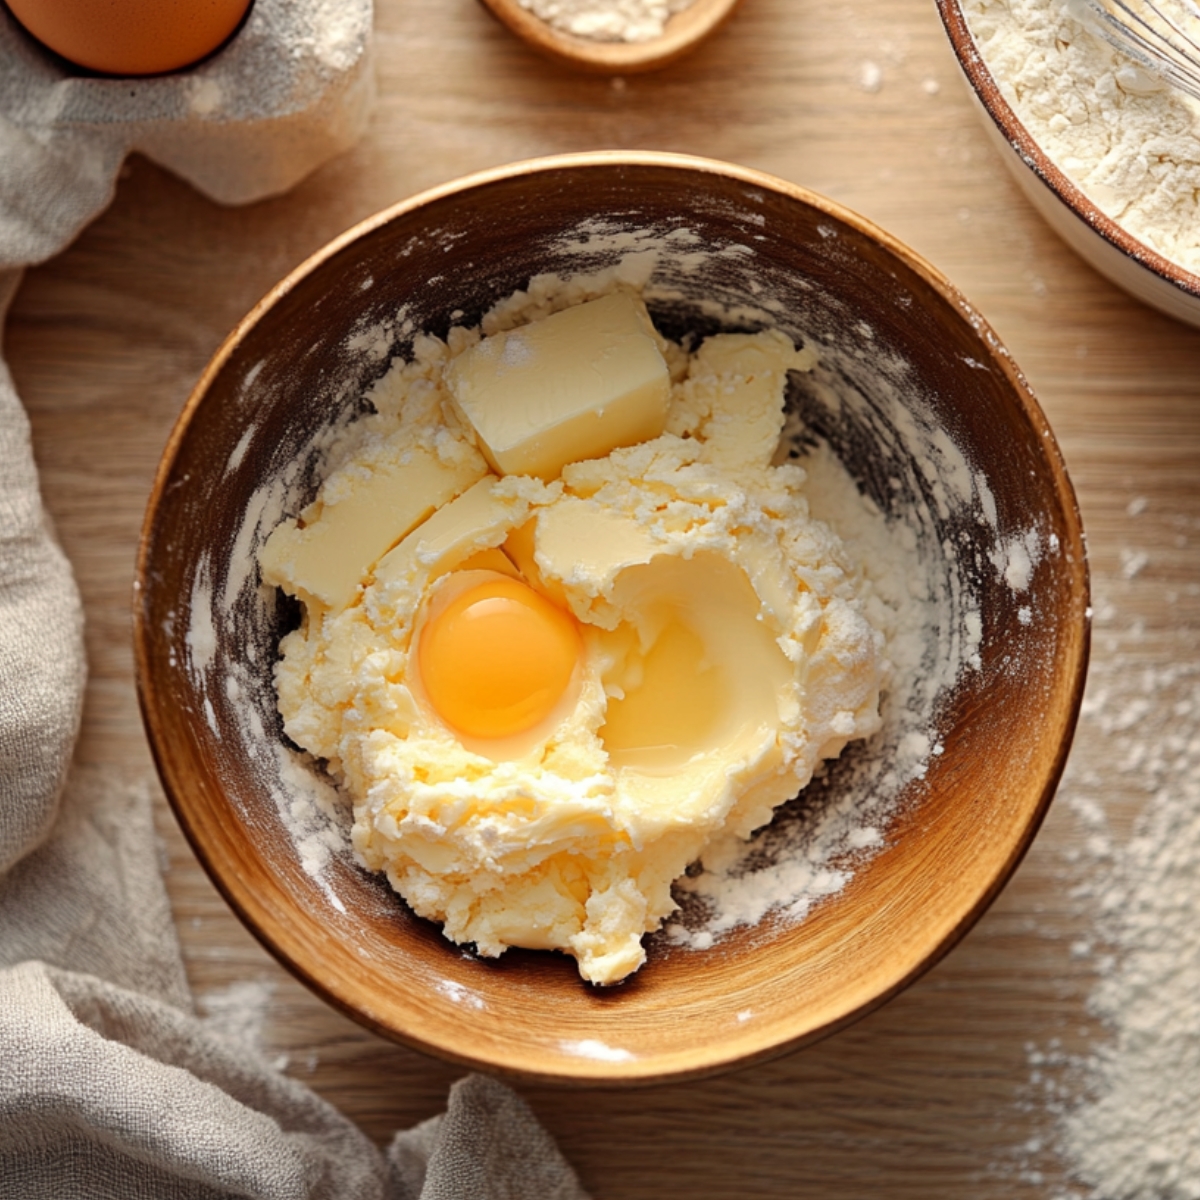
- Cream butter and sugars until light and fluffy (about 3 minutes)
- Add egg and vanilla, mixing until well combined
- In a separate bowl, whisk together flour, baking soda, and salt
- Gradually add dry ingredients to wet ingredients
- Mix just until combined (overmixing toughens cookies!)
Shape for Success
- Roll dough into 1-inch balls (a cookie scoop helps with uniformity)
- Roll balls in granulated sugar if desired
- Place 2 inches apart on prepared baking sheets
- Don't flatten - they'll spread perfectly on their own
Bake and Add the Magic Touch
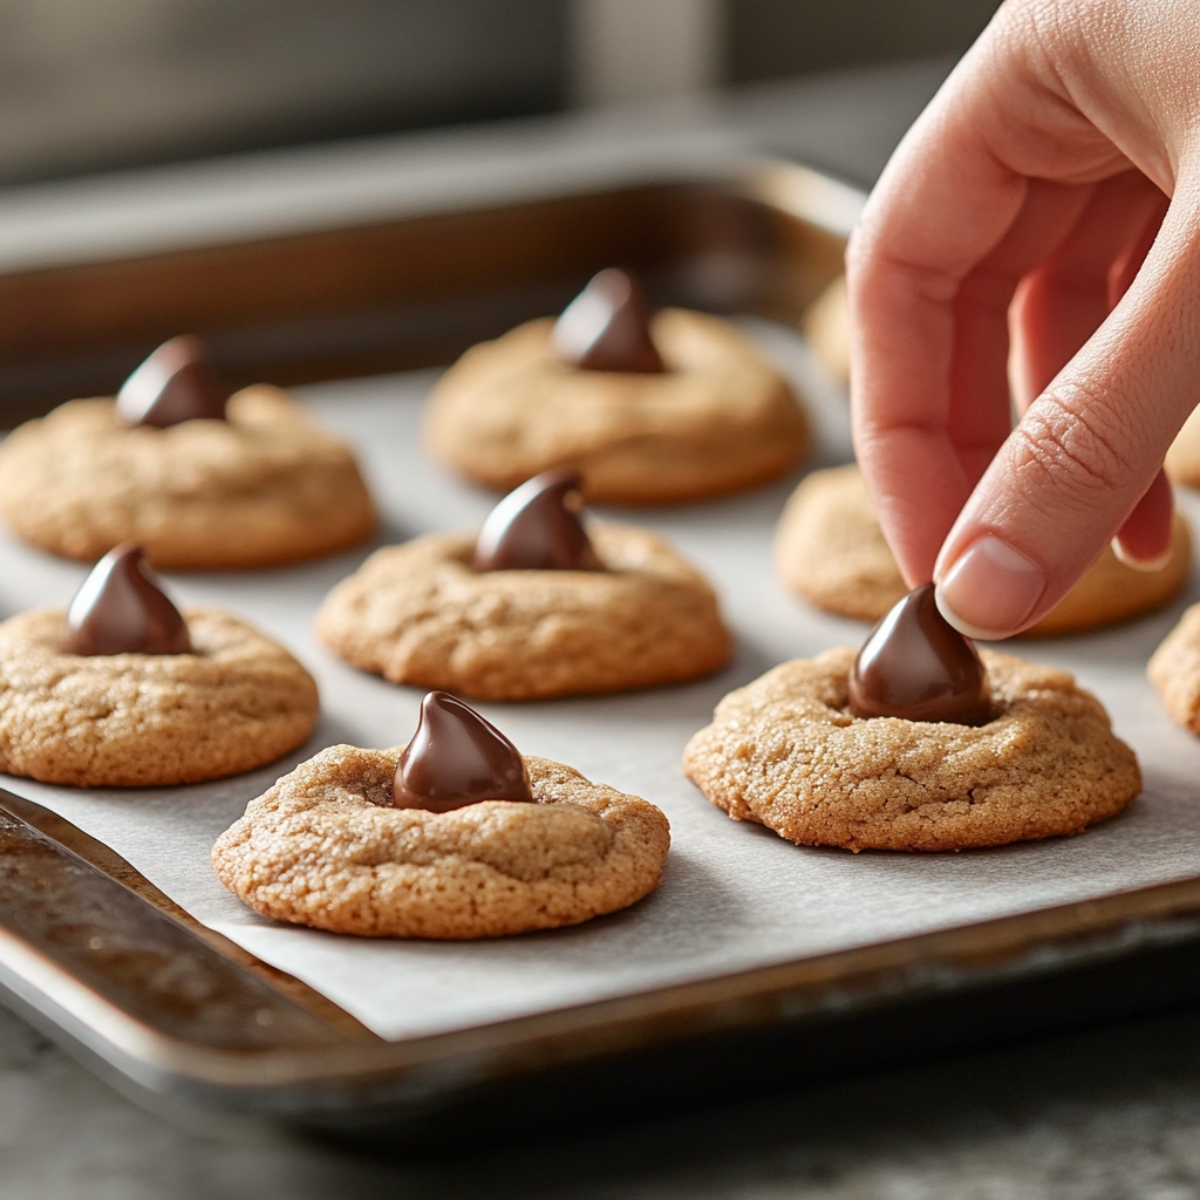
- Bake for 8-10 minutes until edges are set but centers still look soft
- Remove from oven and immediately press a Hershey Kiss into center of each cookie
- The cookie will crack slightly around the edges - that's perfect!
- Let cool on baking sheet for 2 minutes, then transfer to cooling rack
Equipment
- Mixing bowls (one for wet ingredients, one for dry)
- Measuring cups and spoons
- Mixer (hand or stand mixer, though you can mix by hand if needed)
- Baking sheets
- Spatula for mixing and transferring cookies
- Cooling rack
- Small bowl for sugar coating
Variations
After experimenting with countless versions of these Hershey Kiss cookies (Liam insists we try a new variation every holiday season!), these creative twists have become our family favorites:
Chocolate Overload:
- Add 2 tablespoons cocoa powder to the dough
- Mix in mini chocolate chips
- Roll in chocolate sprinkles instead of sugar
- Top with dark chocolate kisses
- Creates a triple-chocolate experience that's irresistible!
Snickerdoodle Kiss Cookies:
- Add 1 teaspoon cinnamon to the dough
- Roll in cinnamon-sugar mixture before baking
- Top with caramel-filled kisses
- Drizzle with white chocolate after cooling
- Perfect warm, cozy flavor for fall and winter
Lemon Burst Kiss Cookies:
- Add 1 tablespoon lemon zest to the dough
- Substitute 1 teaspoon lemon extract for vanilla
- Roll in lemon-sugar (sugar mixed with lemon zest)
- Top with Hershey's Hugs for color contrast
- Bright, refreshing flavor perfect for spring and summer
Holiday Mint Sensation:
- Add ¼ teaspoon peppermint extract to dough
- Roll in red or green colored sugar
- Top with candy cane flavored kisses
- Drizzle with white chocolate if desired
- Creates a festive Christmas cookie everyone loves
Substitutions
Having made these Hershey Kiss cookies for countless occasions and accommodating various dietary needs, I've discovered these substitutions work beautifully:
Base Cookie Variations:
- Classic sugar cookie → Add peanut butter (½ cup) for traditional peanut butter blossoms
- All-purpose flour → 1-to-1 gluten-free baking blend
- Regular butter → Plant-based butter sticks for dairy-free version
- White sugar rolling → Colored sugar for festive holidays
Chocolate Kiss Alternatives:
- Standard kisses → Seasonal varieties (candy cane, caramel filled)
- Milk chocolate → Dark chocolate or white chocolate kisses
- Hershey Kisses → Chocolate stars or mini peanut butter cups
- Plain chocolate → Striped candy cane kisses for Christmas
Flavor Enhancers:
- Vanilla extract → Almond extract (use half the amount)
- Plain dough → Add cinnamon or nutmeg for warmth
- Standard recipe → Mix in mini chocolate chips
- Basic cookie → Add ¼ teaspoon espresso powder to enhance chocolate
Storing Your Hershey Kiss Cookies
Counter Storage (3-5 days):
- Allow cookies to cool completely before storing
- Place in airtight container with parchment between layers
- Add a slice of bread to the container to keep cookies soft
- Store at room temperature away from direct sunlight
- The flavor actually develops nicely after the first day!
Freezer Storage (up to 3 months):
- Cool cookies completely
- Place in freezer-safe container with parchment between layers
- Seal well, removing as much air as possible
- Thaw at room temperature for about 1 hour before serving
- The chocolate kisses may develop a white "bloom" but taste remains perfect
Make-Ahead Options:
- Prepare dough and refrigerate up to 3 days
- Roll into balls and freeze on baking sheet, then transfer to freezer bag
- Bake frozen dough balls, adding 1-2 minutes to baking time
- Have kisses unwrapped and ready when cookies come out of oven
Top Tip
After years of making these Hershey Kiss cookies for family gatherings, school events, and holiday cookie exchanges, I've discovered one game-changing technique that makes all the difference: the double chill method!
Most recipes either skip chilling the dough or suggest a brief chill before baking. But through countless test batches, I found that chilling the dough twice creates the perfect cookie texture. First, chill the mixed dough for 30 minutes before shaping into balls. This prevents the cookies from spreading too much and creates that perfect puffy base for the kisses.
The second, less obvious chill happens after rolling the dough balls in sugar but before baking. Just 10 minutes in the refrigerator allows the sugar to slightly dissolve into the outer layer of dough, creating that signature crinkly texture around the edges when baked. This brief chill also helps the cookies maintain their shape so they don't spread too thin in the oven.
My Sister's Secret Worth Sharing
My sister has always been the Hershey Kiss Cookies queen in our family, and her Hershey Kiss cookies are legendary at every holiday gathering. Years ago, she shared her special technique that transformed my cookies from good to absolutely perfect. Instead of following the traditional method, discovered that creating a small indent in each cookie ball before baking makes all the difference.
Using her thumb or the back of a measuring teaspoon, she gently presses a shallow crater into each dough ball after rolling it in sugar but before baking. This simple step creates the perfect little "seat" for the Hershey Kiss to nestle into when added after baking. The result? Cookies that hold their kisses perfectly centered without cracking too much around the edges.
But her true genius technique is what she calls the "double kiss" method. For chocolate lovers, she presses a mini chocolate chip into the center of each dough ball before baking, creating a hidden chocolate surprise beneath the Hershey Kiss that gets added after baking. "It's like a chocolate secret that nobody expects," she says. When Liam first discovered this hidden treat, his eyes went wide with delight!
FAQ
When to add Hershey Kisses to cookies?
The perfect time to add Hershey Kisses is immediately after removing the cookies from the oven. The cookies should still be hot and soft, allowing the kisses to slightly sink in and adhere properly. If added before baking, the kisses will completely melt; if you wait until the cookies cool, they won't stick properly to the cookie base.
What is the secret to making cookies soft and chewy?
The secret to soft, chewy Hershey Kiss cookies lies in three key techniques: using brown sugar (which retains moisture), not overmixing the dough (which develops gluten and makes cookies tough), and being careful not to overbake. Remove cookies from the oven when the edges are set but the centers still look slightly underdone for that perfect soft texture.
What are the ingredients in a Hershey Kiss?
Hershey Kiss Cookies primarily contain milk chocolate, made from sugar, milk, cocoa butter, chocolate, soy lecithin (an emulsifier), and natural flavors. The classic kisses have this simple ingredient list, while specialty flavors may contain additional ingredients. Always check the packaging for the most accurate information if you're concerned about allergies.
What are the basic ingredients for peanut butter cookies?
Traditional peanut butter cookies require flour, baking soda, salt, butter, brown sugar, white sugar, eggs, vanilla extract, and of course, peanut butter. For peanut butter Hershey Kiss cookies, you'll use these same ingredients and then press a chocolate kiss into each cookie immediately after baking while they're still warm and soft.
Classic Cookies That Create Sweet Memories!
Now you have all the secrets to create perfect Hershey Kiss cookies that will become your family's new favorite tradition! From the ideal dough chilling technique to my sister's brilliant indent method, these timeless treats deliver that perfect balance of soft cookie and chocolate kiss that has delighted generations of bakers. Whether you make the classic version or experiment with creative variations, these cookies are guaranteed to bring smiles and create sweet memories.
Looking for more delicious cookie inspiration? Our Adorable Peach Cookies recipe transforms simple ingredients into charming fruit-shaped treats that are as cute as they are delicious. Need something quick and refreshing? Try our Quick & Delicious Lemon Meltaway Cookies that literally melt in your mouth with bright citrus flavor. And for fruit lovers, our Perfect Strawberry Sugar Cookies capture the essence of summer berries in a pretty pink cookie that's perfect for special occasions!
Rate this Hershey Kiss Cookies and join our baking community!
Remember what Liam says every time we make these cookies - "The best part is the smile when someone takes their first bite!" With these foolproof techniques, you'll be creating those smiles for years to come.Retry
Related
Looking for other recipes like this? Try these:
Pairing
These are my favorite dishes to serve with Hershey Kiss Cookies

Hershey Kiss Cookies
Ingredients
Equipment
Method
- Preheat the oven to 350°F and line baking sheets with parchment paper.
- Unwrap Hershey Kisses and set aside. Let butter soften to room temp.
- Cream butter and sugars in a large bowl until light and fluffy (about 3 minutes).
- Add egg and vanilla, and mix until combined.
- In a separate bowl, whisk together flour, baking soda, and salt.
- Gradually mix dry ingredients into the wet ingredients just until combined.
- Chill dough for 30 minutes in the fridge.
- Shape dough into 1-inch balls and roll in sugar if desired.
- Optional: Press a mini chocolate chip into the center before baking.
- Chill formed dough balls for 10 more minutes on the baking sheet.
- Bake for 8-10 minutes, until edges are set and centers look slightly soft.
- Immediately press a Hershey Kiss into the center of each warm cookie.
- Cool on baking sheet for 2 minutes, then transfer to a wire rack.




Leave a Reply