There's something about cherry poke cake that brings back memories of summer potlucks and church dinners - maybe it's those beautiful red cherries peeking through the fluffy white cake, or how incredibly moist and flavorful it gets when all those juices soak in. After 17 years of making this for family gatherings and perfecting it through 32 test batches (Liam loved being my official taste tester for this one), I've made a version that's foolproof, gorgeous, and disappears faster than you can say "seconds please." This easy cherry dessert combines the simplicity of cake mix with the magic of poke cake technique to create something that looks fancy but needs zero special skills.
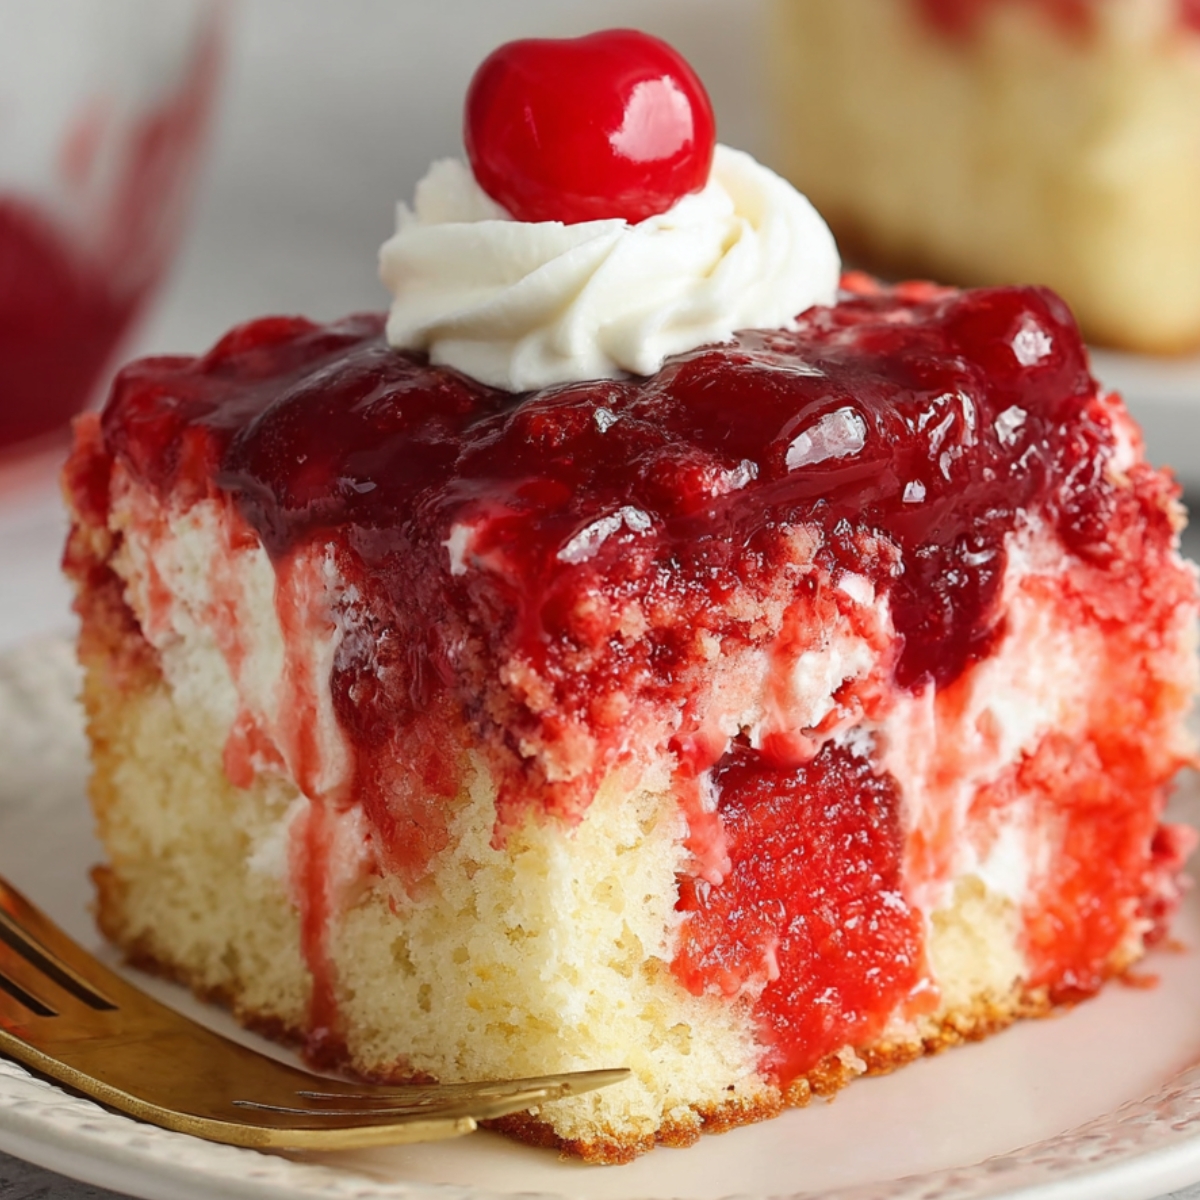

Why You'll Love This Cherry Poke Cake
From years of making this for people who expect their desserts to look as good as they taste, here's why this recipe never fails. This cherry poke cake fixes every problem I've ever had with poke cakes - no more soggy bottoms from too much liquid, no more dry spots where the filling didn't reach, and definitely no more wondering if the flavors actually work together. The cherry filling soaks into the cake just enough to make it super moist without turning it into mush, and you get this beautiful presentation with bright red cherries against fluffy white cake and cream.
What makes this Cherry Poke Cake different is the timing and technique. Instead of just dumping filling on hot cake and hoping for the best, I figured out exactly when to poke the holes and add the cherries so everything absorbs perfectly. The cake stays together but becomes incredibly tender and flavorful. Liam's friends always choose this over regular birthday cake when given the option, and adults love how it's sweet but not overwhelming like some desserts can be. Plus, you can make it completely ahead of time and it actually gets better as it sits - perfect for when you're hosting and need one less thing to worry about on party day.
Jump to:
- Why You'll Love This Cherry Poke Cake
- Cherry Poke Cake Ingredients
- How To Make Cherry Poke Cake Step By Step
- Substitutions
- Cherry Poke Cake Variations
- Equipment For Cherry Poke Cake
- Storage Tips For Cherry Poke Cake
- Top Tip
- My Mother's Secret Worth Sharing
- FAQ
- Poke Cake Perfection Made Simple!
- Related
- Pairing
- Cherry Poke Cake
Cherry Poke Cake Ingredients
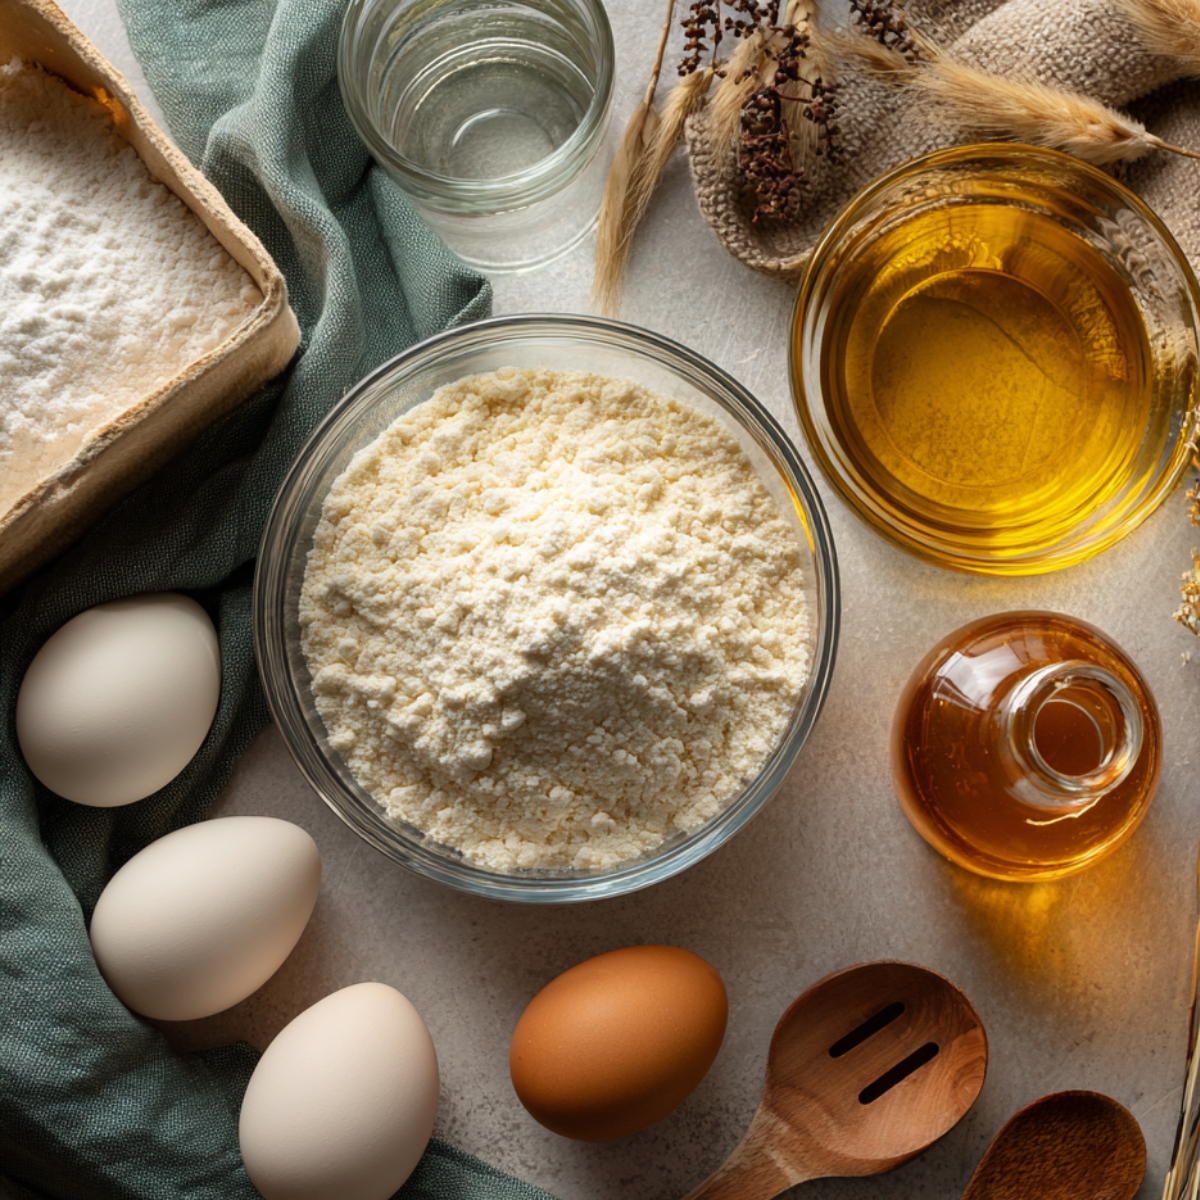
For the Cake Base:
- White cake mix
- Large eggs
- Vegetable oil
- Water
- Vanilla extract
For the Cherry Layer:
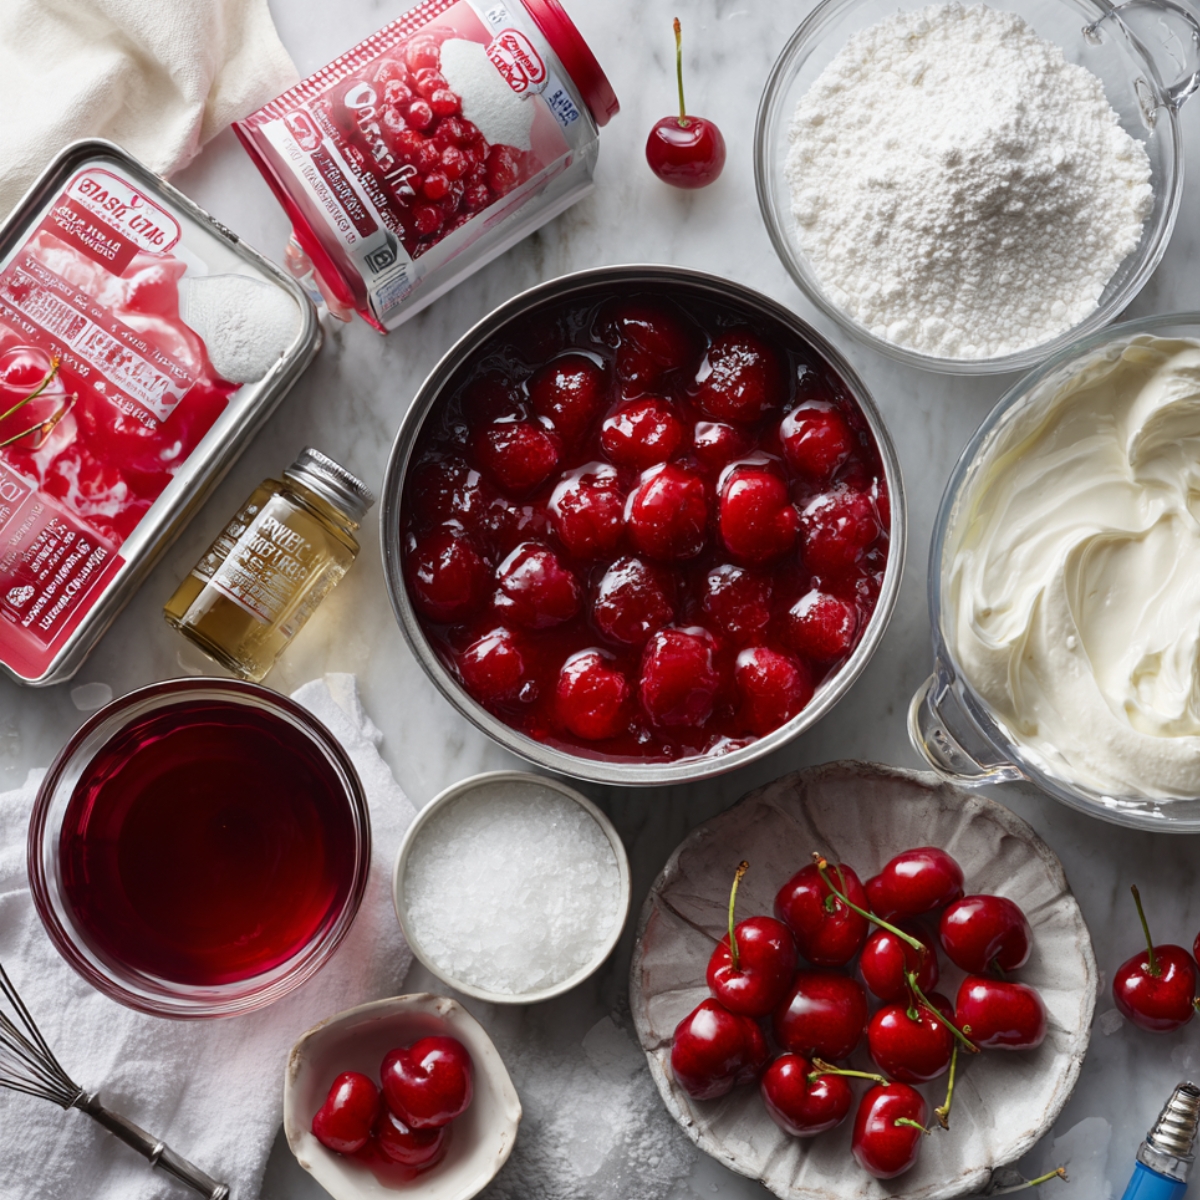
- Cherry pie filling
- Cherry Jello mix
- Boiling water
- Cold water
- Extra cherry juice if using fresh
For the Topping:
- Heavy whipping cream
- Powdered sugar
- Vanilla extract
- Cool Whip
- Maraschino cherries for garnish
See recipe card for quantities.
How To Make Cherry Poke Cake Step By Step
Bake the Base:
- Prepare cake mix according to package directions
- Bake in greased 9x13 pan until done
- Cool for exactly 15 minutes (not completely cool)
- Poke holes all over with wooden spoon handle
Prepare Cherry Mixture:
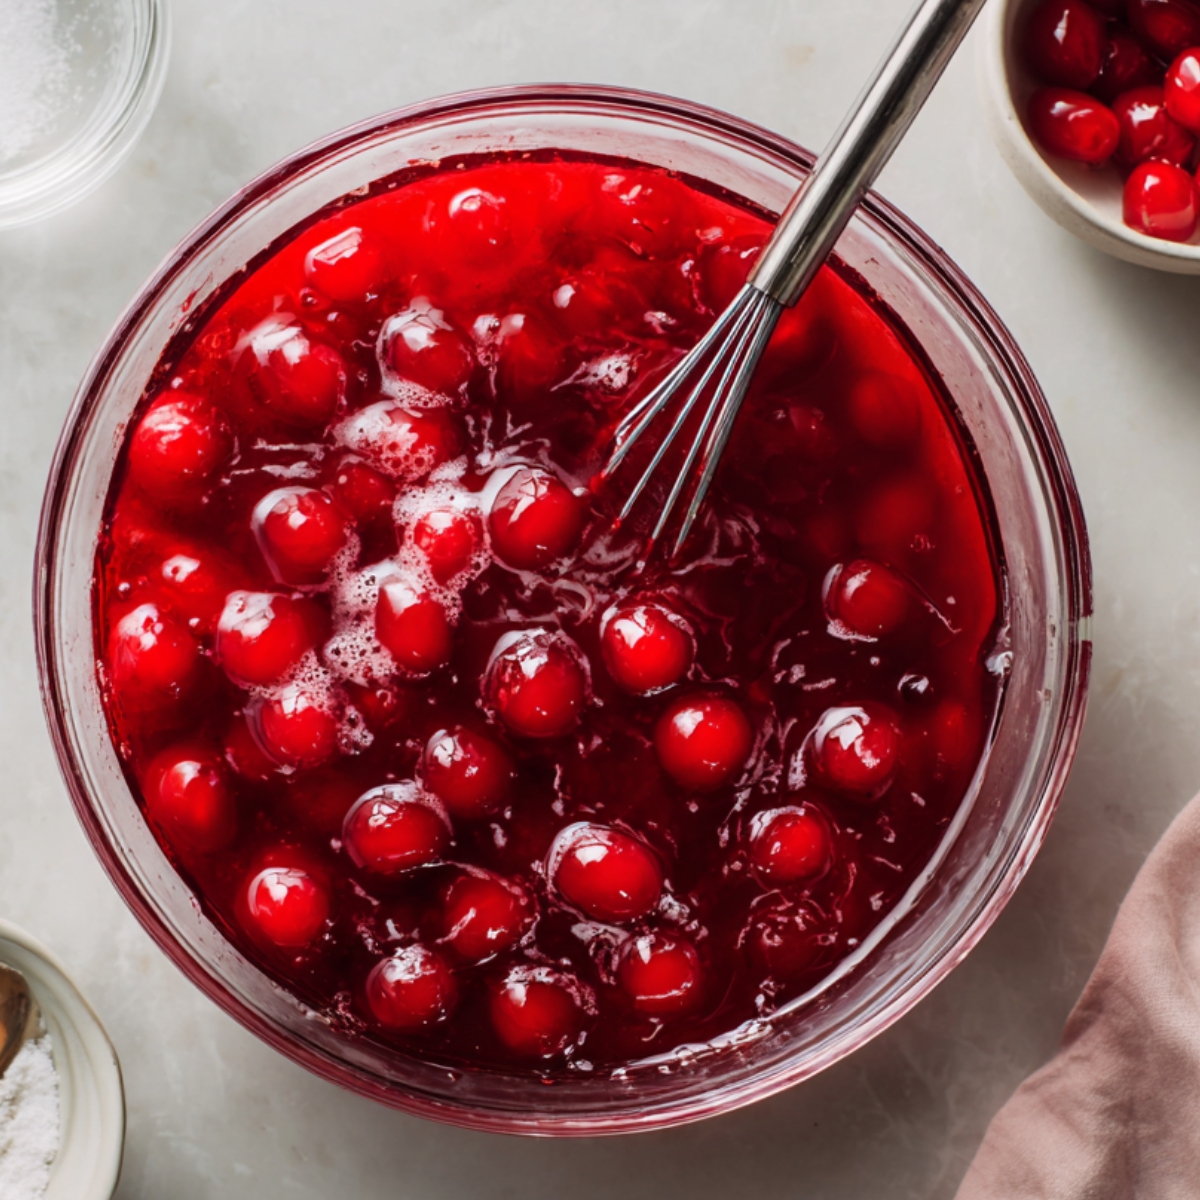
- Mix cherry Jello with boiling water
- Stir until completely dissolved
- Add cold water and cherry pie filling
- Mix gently to combine
The Soaking Process:
- Pour cherry mixture slowly over warm cake
- Make sure it gets into all the holes
- Spread cherries evenly across surface
- Refrigerate for 2-3 hours until set
Make the Topping:
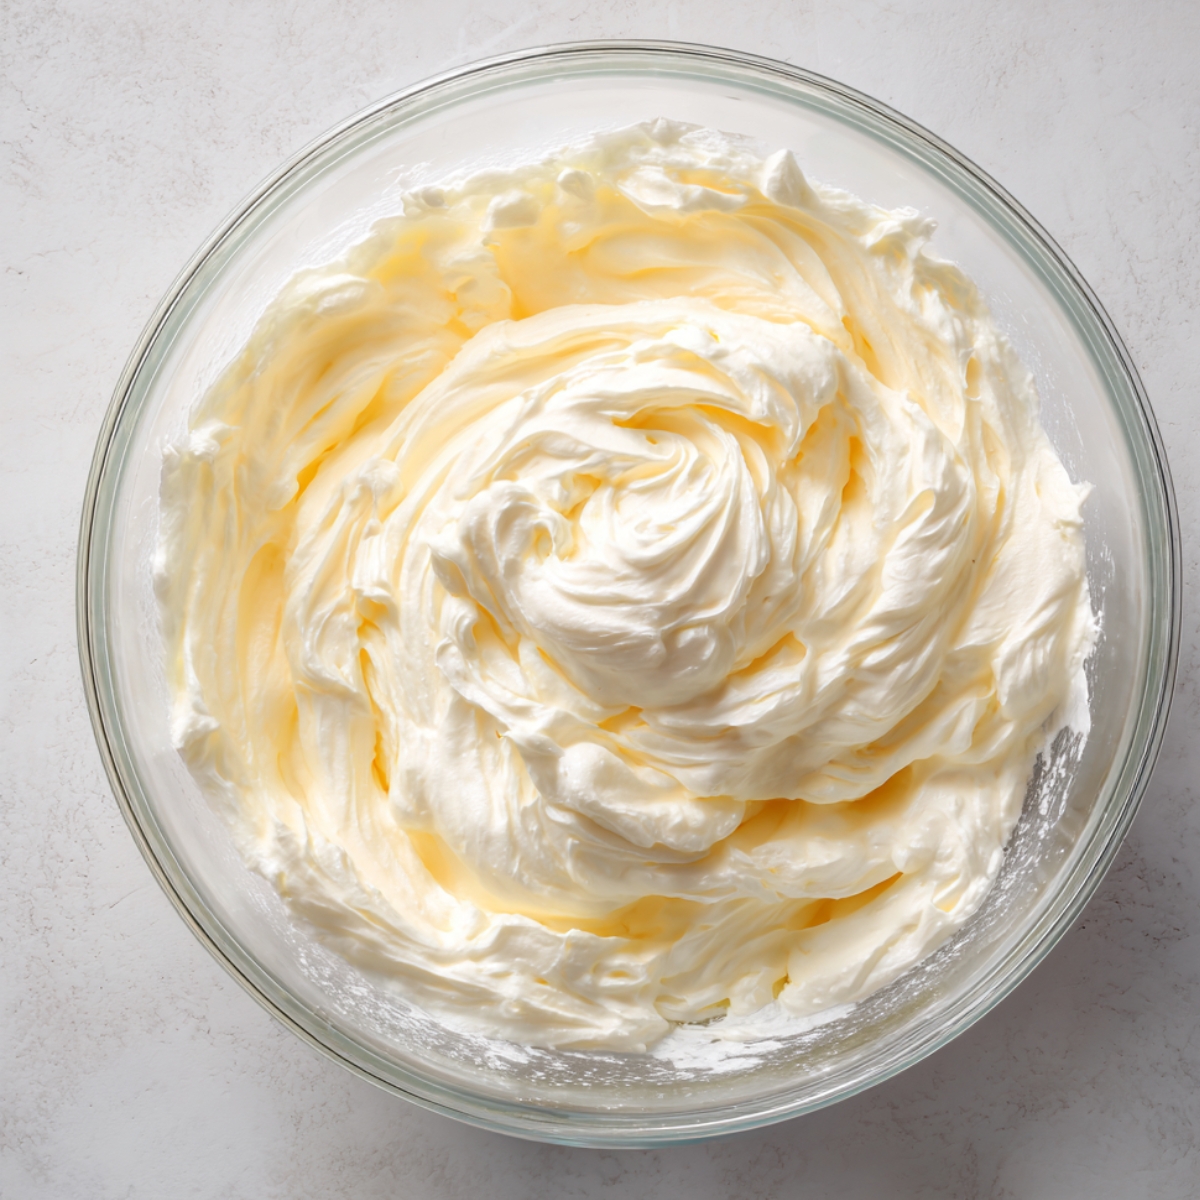
- Whip heavy cream with powdered sugar
- Add vanilla extract
- Spread over chilled cake
- Top with Cool Whip if desired
Final Touches:
- Garnish with maraschino cherries
- Chill overnight for best flavor
- Cut into squares to serve
- Keep refrigerated
Substitutions
Having made this Cherry Poke Cake for people with all kinds of dietary needs, these substitutions actually work:
Cake Base Options:
- White cake mix → Yellow or chocolate cake mix
- Box mix → Homemade vanilla cake
- Regular → Gluten-free cake mix
- Standard → Sugar-free cake mix
Cherry Alternatives:
- Cherry pie filling → Fresh cherries (cooked with sugar)
- Regular → Frozen cherries (thawed and drained)
- Cherry Jello → Sugar-free cherry Jello
- Pie filling → Cherry preserves (thinned with water)
Topping Swaps:
- Heavy cream → Cool Whip only
- Whipped cream → Greek yogurt mixed with powdered sugar
- Regular → Dairy-free whipped topping
- Standard → Cream cheese frosting
Flavor Variations:
- Cherry → Strawberry or raspberry
- Regular → Mixed berry combination
- Single fruit → Peach or pineapple
- Traditional → Lemon with blueberries
Cherry Poke Cake Variations
Chocolate Cherry:
- Use chocolate cake mix
- Add chocolate chips to batter
- Chocolate whipped cream topping
- Rich and decadent combination
Black Forest Style:
- Chocolate cake base
- Black cherry pie filling
- Whipped cream with cocoa powder
- Shaved chocolate on top
Lemon Cherry:
- Add lemon zest to cake batter
- Use lemon Jello instead of cherry
- Lemon whipped cream
- Fresh and bright flavor
Cherry Cheesecake:
- Add cream cheese to whipped topping
- Graham cracker crumbs on bottom
- Extra thick and creamy
- Tastes like cherry cheesecake
Tropical Cherry:
- Add coconut to cake mix
- Mix cherries with pineapple
- Coconut whipped cream
- Summer vacation vibes
Equipment For Cherry Poke Cake
- 9x13 inch baking pan
- Large mixing bowls
- Electric mixer
- Wooden spoon with long handle
- Measuring cups and spoons
- Wire cooling rack
Storage Tips For Cherry Poke Cake
Refrigerator Storage (5-7 days):
- Cover tightly with plastic wrap or foil
- Store in refrigerator due to whipped cream
- Cut pieces stay fresh when wrapped individually
- Actually gets better after the first day
Make-Ahead Magic:
- Can be made up to 2 days before serving
- Flavors blend together beautifully overnight
- Perfect for stress-free entertaining
- No last-minute assembly required
Serving Tips:
- Let sit at room temperature 15 minutes before serving
- Use sharp knife for clean cuts
- Wipe knife between cuts for neat slices
- Serve chilled for best texture
Freezing (Not Recommended):
- Whipped cream topping doesn't freeze well
- Texture changes when thawed
- Better to make fresh when needed
- Can freeze unfrosted cake layers only
Top Tip
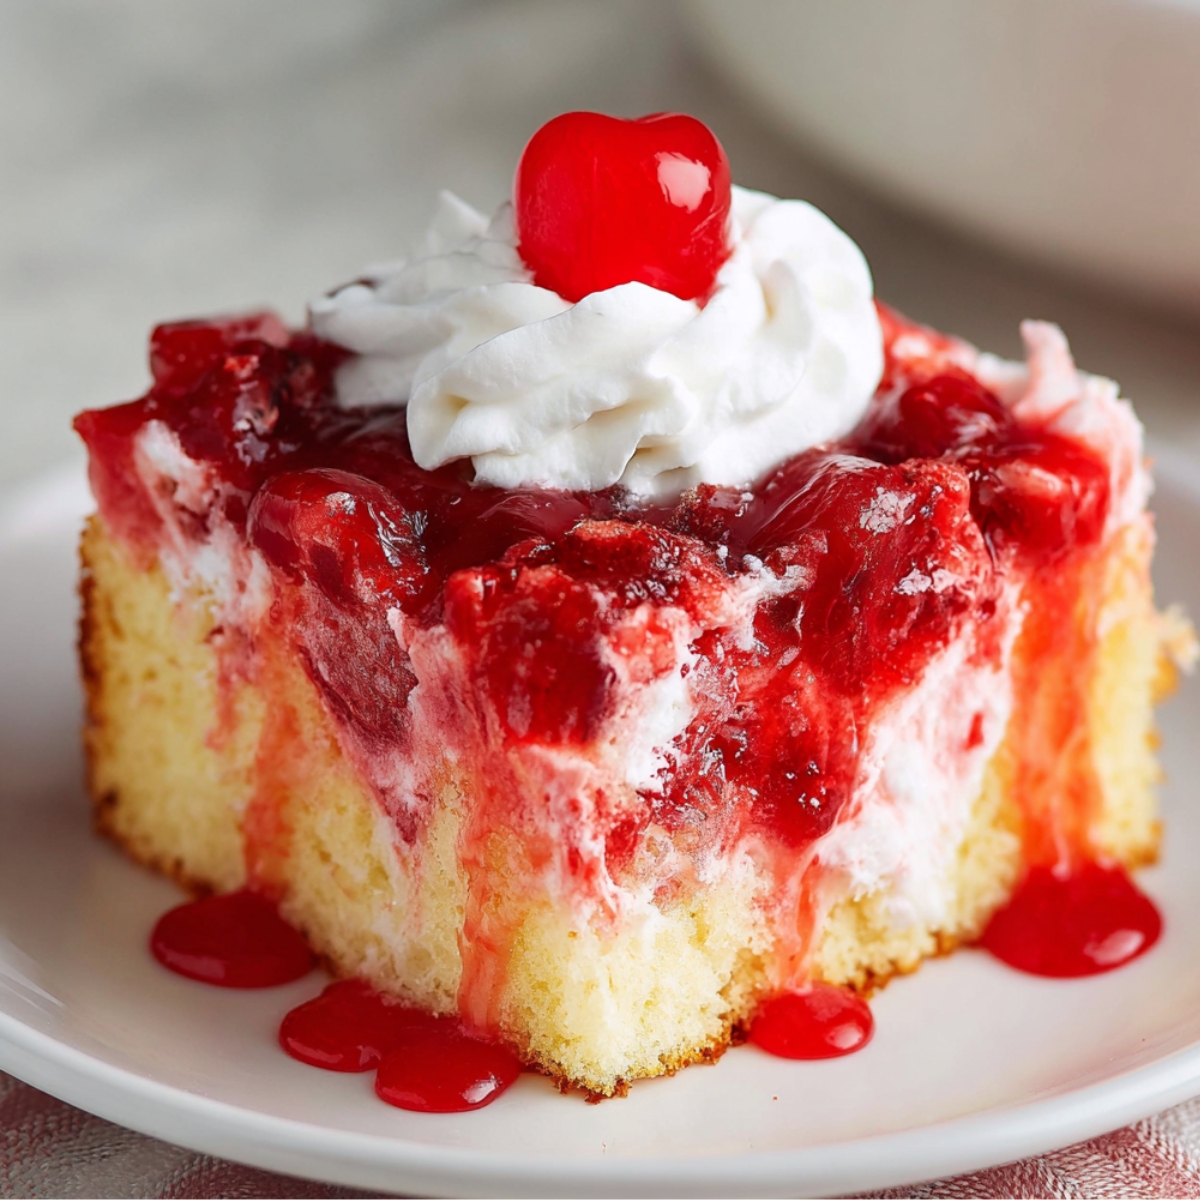
- This cherry poke cake tastes way better the next day when all those cherry flavors have had time to soak through every bit of cake, making each bite incredibly moist and packed with flavor.
- The best part about this Cherry Poke Cake is that you can make it up to 2 days before you need it, and it actually gets better as it sits. The cherry flavors have time to mix together and soak through the entire cake, while the whipped cream sets up perfectly. This makes it perfect for stress-free entertaining when you want to get your dessert done ahead of time and not worry about last-minute assembly.
- When you're ready to serve, let the Cherry Poke Cake sit at room temperature for about 15 minutes before cutting - this makes it easier to slice cleanly. Use a sharp knife and wipe it between cuts to get those perfect squares that show off all the beautiful red and white layers. While you can freeze the plain cake layers, I don't recommend freezing the finished cake because the whipped cream topping gets weird when it thaws.
My Mother's Secret Worth Sharing
My mother discovered the game-changing trick for this cherry poke cake completely by accident back in the 1980s when she was making it for my school's bake sale. She had mixed up the cherry Jello and pie filling like usual, but got distracted by a phone call and left the mixture sitting on the counter for about 20 minutes before pouring it over the cake. When she finally got back to it, the mixture had thickened up quite a bit, and she was worried it wouldn't soak into the holes right.
But that slightly thickened cherry mixture turned out to be pure magic. Instead of making the cake soggy like thin liquid would, it made these perfect pockets of concentrated cherry flavor that stayed exactly where they were supposed to be. The Cherry Poke Cake stayed together but became incredibly moist and flavorful. Now my whole family uses Mom's "patience method" - we always let the cherry mixture sit and thicken for 15-20 minutes before adding it to the cake. She was so proud when the other moms at the bake sale kept asking what made her cake so much better than everyone else's that she started writing down all her little tricks to pass along to us kids.
FAQ
When making a poke cake, do you let it cool first?
Let the cake cool for about 15 minutes, but not completely. You want it still warm when you poke the holes so the cherry mixture soaks in better. If it's too hot, it'll make everything too runny. Too cool, and the mixture just sits on top.
Why is my poke cake soggy?
Usually this happens when you add too much liquid or the cake is too hot when you add the filling. Make sure to follow the liquid measurements exactly and let the cake cool slightly before poking. Also, don't make the holes too big or close together.
What is poke cake made of?
Poke cake starts with a regular cake (usually from a mix), then you poke holes all over it and pour flavored liquid or filling into the holes. This cherry poke cake uses cherry pie filling mixed with Jello, topped with whipped cream for a complete dessert.
What is the point of a poke cake?
Poke cakes let you add extra flavor and moisture throughout the entire cake, not just on top. The filling soaks into every bite, making the cake super moist and flavorful. It's also a great way to make a simple cake mix taste homemade and special.
Poke Cake Perfection Made Simple!
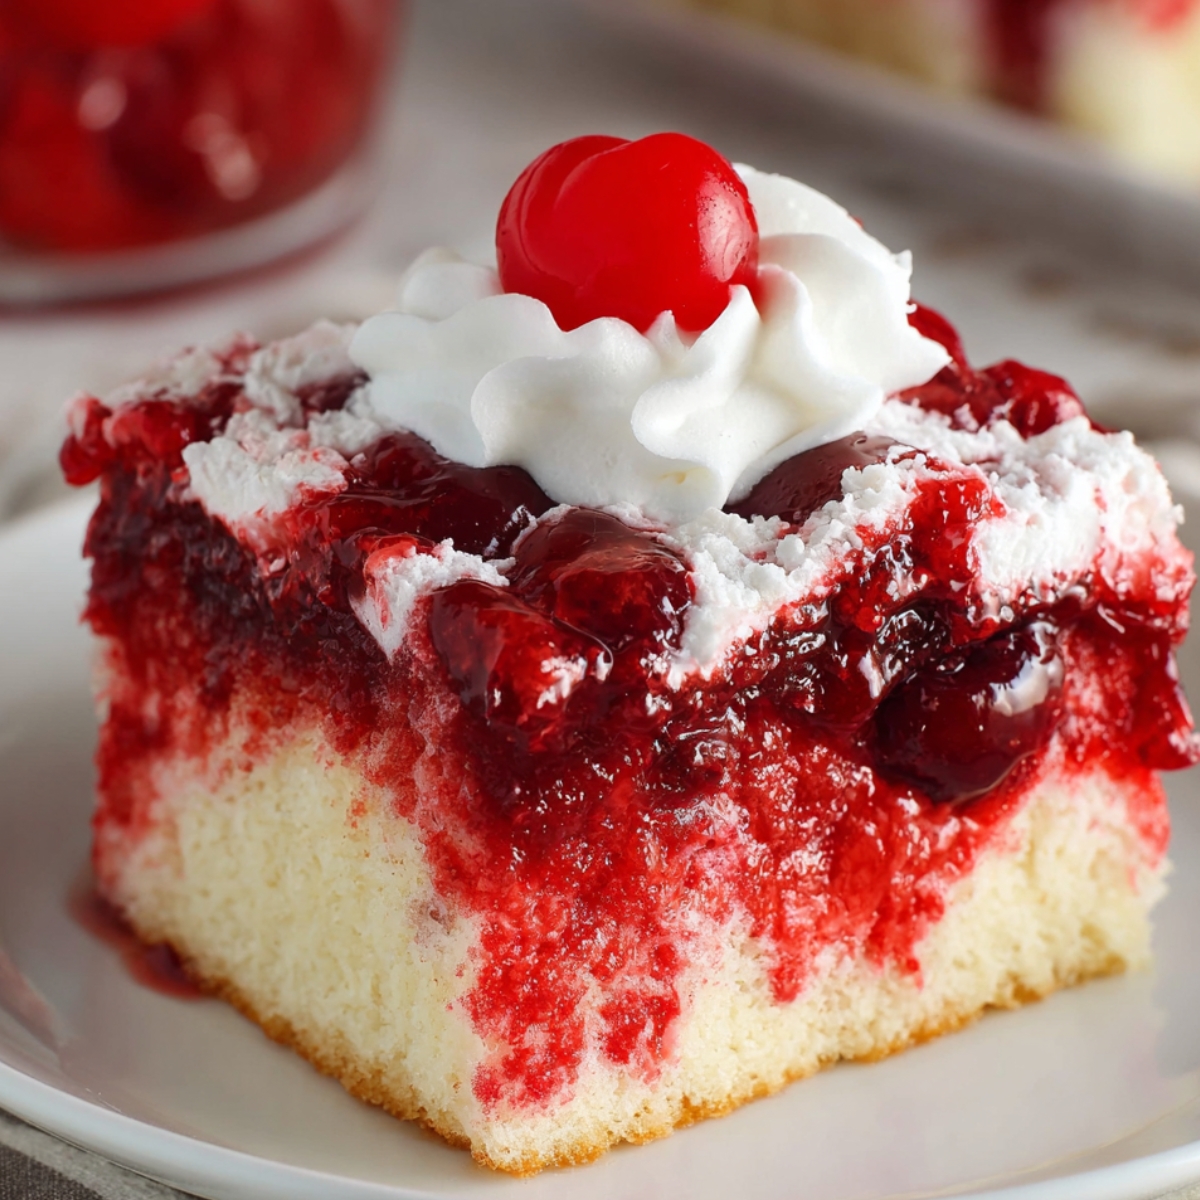
What I love most about this Cherry Poke Cake is how it transforms a simple cake mix into something that looks like it came from a professional bakery. Every time I make a batch, people assume I spent hours creating this masterpiece, but the reality is that most of the magic happens while the cake is chilling in the fridge. Liam's friends have declared this "way better than regular cake," which is high praise from kids who usually just want chocolate everything. There's something special about that first bite when you get cake, cherry filling, and fluffy whipped cream all in one perfect spoonful.
Craving more desserts that bring back those nostalgic feelings? Try our The Best S'mores Pie Recipe that captures all that campfire magic without needing an actual fire - it's another one of those desserts that looks good but is actually pretty straightforward to make. Want something with fresh fruit and chocolate? Our Easy Raspberry Chocolate Chip Cookies Recipe combines sweet and tart flavors in the most perfect way, and they're soft and chewy just like you want cookies to be. For another foolproof dump-and-bake dessert, our Easy Rhubarb Dump Cake Recipe is just as simple as this poke cake but with that great sweet and tart rhubarb flavor that screams summer!
Share your Cherry Poke Cake success! We love seeing your beautiful red and white layered creations and hearing about your family gatherings!
⭐️⭐️⭐️⭐️⭐️ Rate this Cherry Poke Cake and join our baking community!
Related
Looking for other recipes like this? Try these:
Pairing
These are my favorite dishes to serve with Cherry Poke Cake

Cherry Poke Cake
Ingredients
Equipment
Method
- Prepare cake batter, bake in 9x13 pan, and cool for 15 minutes
- Poke holes in the warm cake with spoon handle
- Mix cherry Jello, boiling water, cold water, and pie filling; let thicken slightly
- Pour cherry mixture over cake, chill 2-3 hours
- Whip cream with sugar and vanilla, spread on cake, garnish with cherries



Leave a Reply