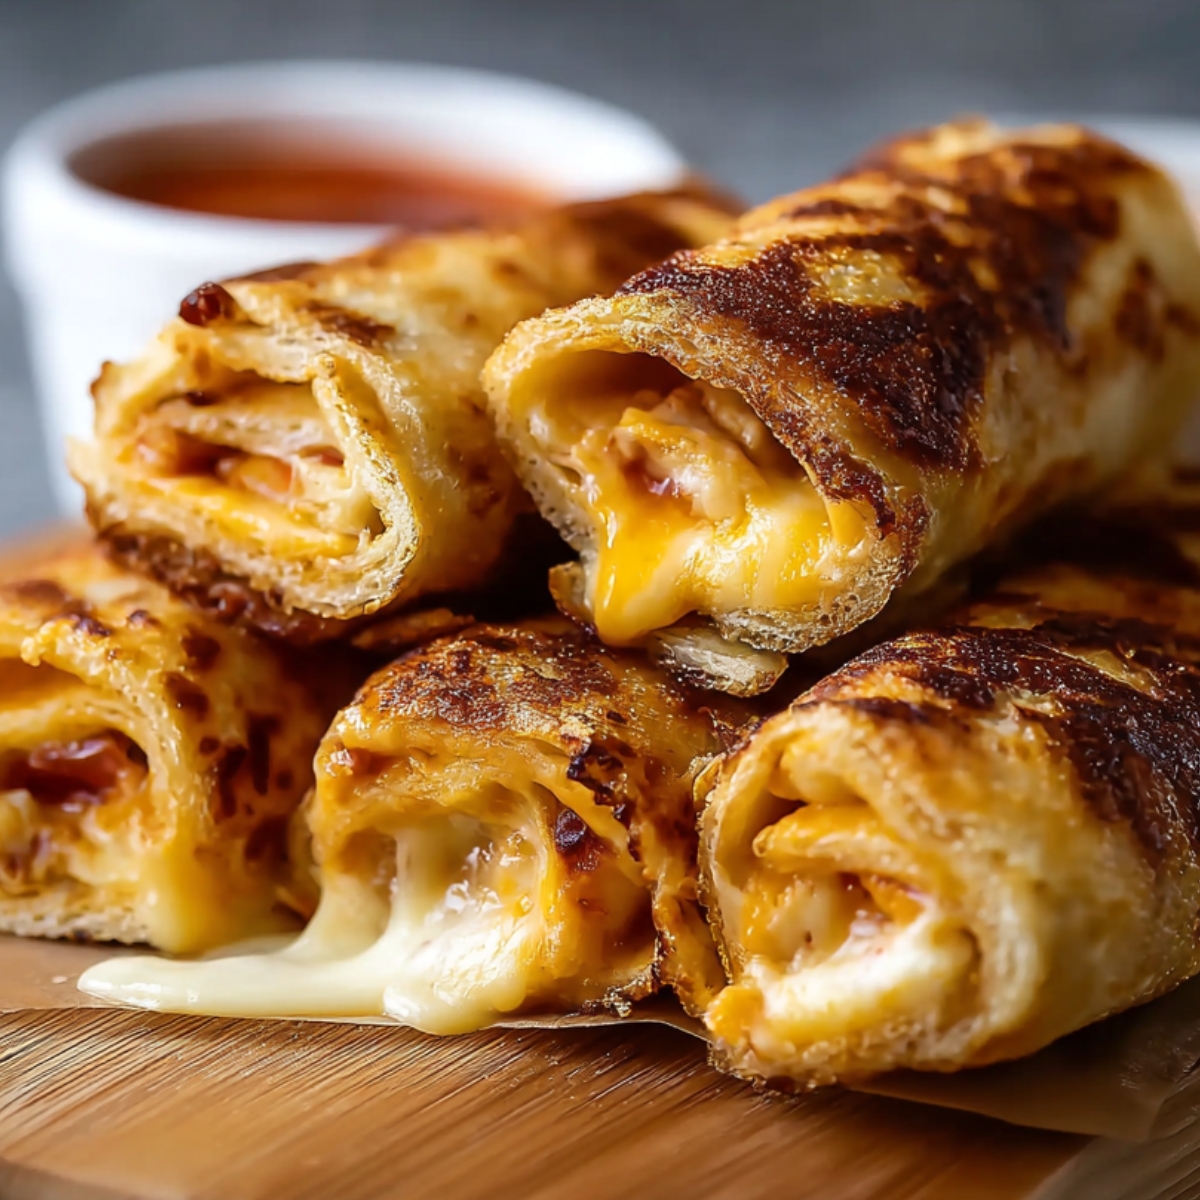
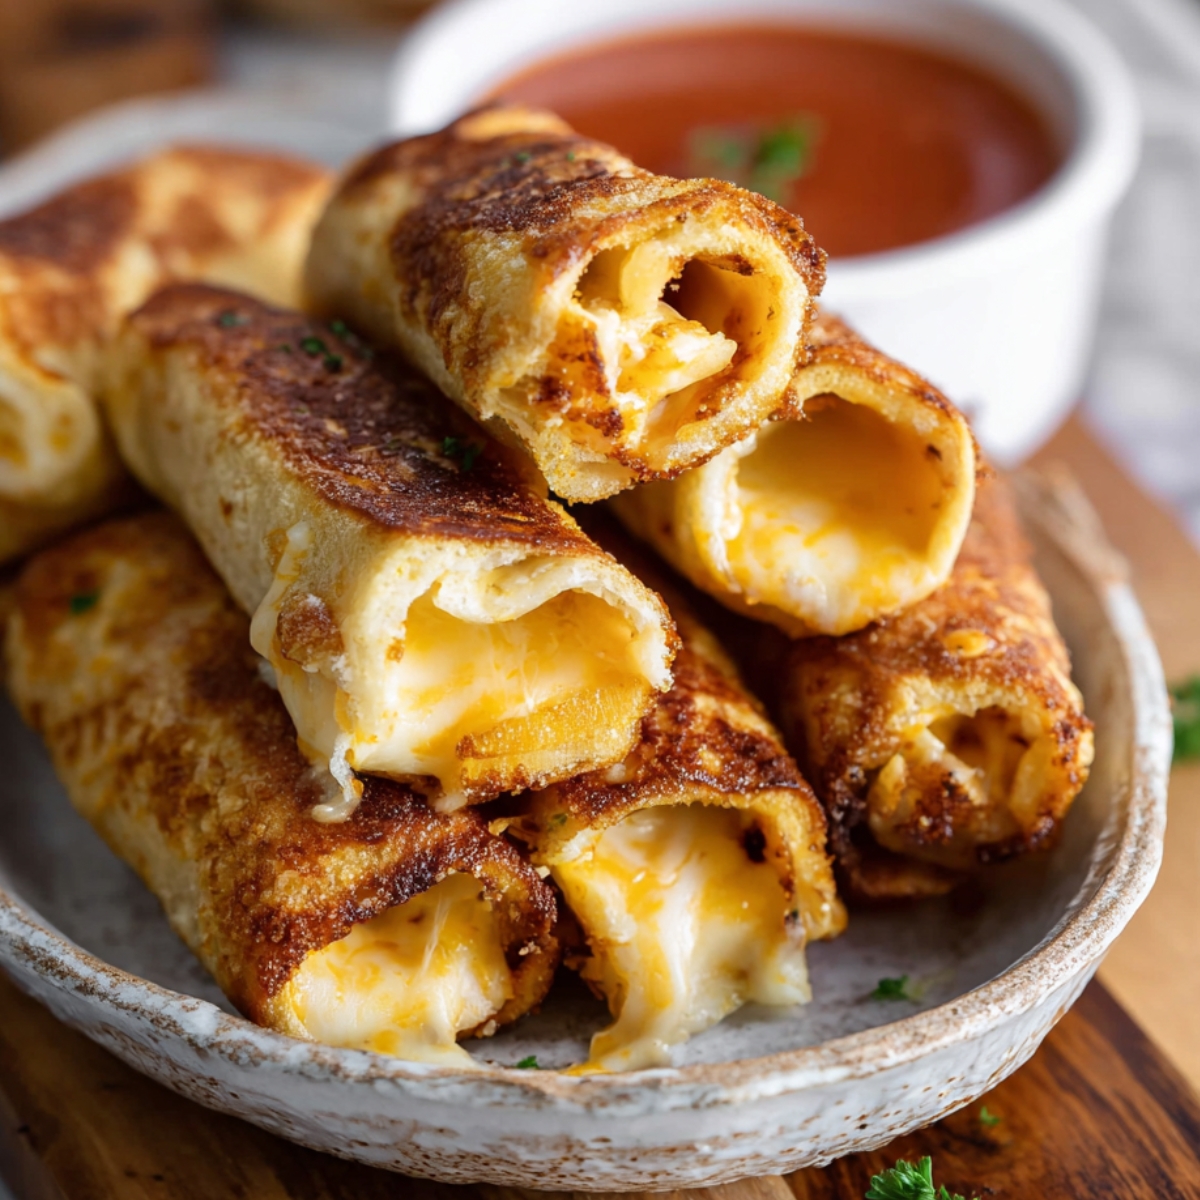
Last Tuesday, liam announced that regular grilled cheese was "too boring" and asked if we could make "cheese that rolls like a burrito." This grilled cheese roll ups recipe became our solution - taking the classic comfort food and transforming it into fun, handheld bites that are good for little fingers. What makes these special is how the bread gets flattened and rolled with cheese, then grilled until crispy on the outside while keeping all that melted cheese goodness locked inside. Through several attempts at getting the rolling technique right, we've learned that the key is using the right bread thickness and not overfilling them with cheese.
Why You'll Love This Grilled Cheese Roll Ups
This Grilled Cheese Roll Ups has become our go-to solution for busy weeknight dinners when we need something that satisfies kids but doesn't take forever to make. The rolling technique means you get way more crispy surface area than regular grilled cheese, and all that melted cheese stays contained instead of oozing out the sides onto the pan. It's faster than making individual sandwiches since you can cook several roll ups at once, and they hold their shape better for little hands that haven't mastered the art of not squeezing their food. The best part is how customizable they are - you can add ham, turkey, or even a thin layer of jam without worrying about it falling out.
What makes this grilled cheese roll ups recipe so dependable is how well it works for different ages and occasions. I've packed these in lunch boxes where they stay together better than regular sandwiches, served them at playdates where kids can dip them in soup without making huge messes, and even brought them to potlucks as finger food appetizers. The bread gets evenly golden on all sides, creating this satisfying crunch that gives way to melted cheese. Plus, you can prep them ahead of time and just cook when you're ready to eat, which saves time during those crazy dinner rushes.
Jump to:
- Why You'll Love This Grilled Cheese Roll Ups
- Grilled Cheese Roll Ups Ingredients
- How To Make Grilled Cheese Roll Ups Step By Step
- Smart Swaps for Grilled Cheese Roll Ups
- Grilled Cheese Roll Ups Variations
- Equipment For Grilled Cheese Roll Ups
- Storing Your Grilled Cheese Roll Ups
- Top Tip
- My Aunt's Secret Worth Sharing
- FAQ
- Time for Crispy, Cheesy Comfort!
- Related
- Pairing
- Grilled Cheese Roll Ups
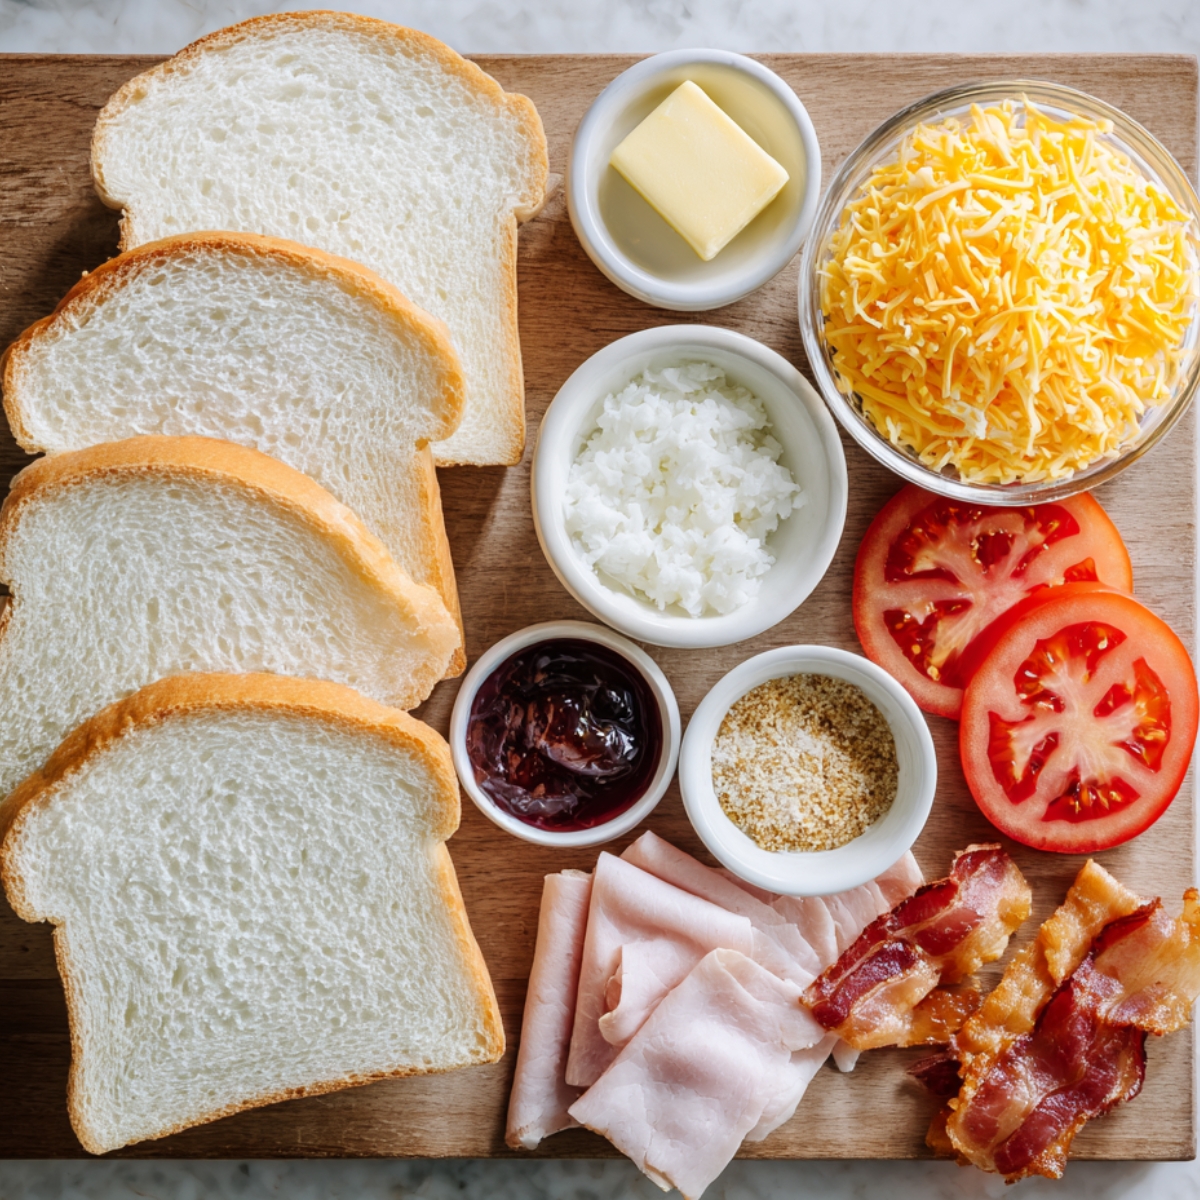
Grilled Cheese Roll Ups Ingredients
For the Roll Ups:
- White sandwich bread
- Shredded cheese
- Butter
- Salt and pepper
Optional Add-Ins:
- Thin sliced ham or turkey
- Cooked bacon pieces
- Sliced tomatoes
- Jam or jelly for sweet version
See recipe card for quantities.
How To Make Grilled Cheese Roll Ups Step By Step
Prepare Your Bread Foundation
- Lay bread slices flat on cutting board and trim off crusts with sharp knife
- Use rolling pin to gently flatten each slice until it's about half its original thickness
- Roll from center outward to avoid tearing - the bread should be pliable but not mushy
- Work with 4-6 slices at a time to prevent them from drying out
Create the Filling
- Spread thin layer of softened butter on each flattened slice
- Sprinkle shredded cheese evenly across surface, leaving small border around edges
- Add any extras like ham or turkey in thin layer - don't overfill
- Season lightly with salt and pepper if desired
Roll and Seal
- Starting from one edge, roll bread tightly but gently around filling
- Press seam side down lightly to help it stick together
- Brush outside of each roll with melted butter for golden browning
- Place seam-side down on plate while you finish rolling others
Cook to Golden Perfection
- Heat skillet over medium heat - not too hot or outside burns before cheese melts
- Place roll ups seam-side down first and cook 2-3 minutes until golden
- Roll them carefully to brown all sides evenly, about 8-10 minutes total
- Remove when all sides are crispy and you can see melted cheese at the ends
Smart Swaps for Grilled Cheese Roll Ups
Bread Alternatives:
- White sandwich bread → Whole wheat (softer varieties work better)
- Regular bread → Gluten-free sandwich bread
- Standard slices → Tortillas for different texture
- Thick bread → Thin sliced bread (easier to roll)
Cheese Options:
- Cheddar → American, mozzarella, or Swiss
- Shredded cheese → Cream cheese for smoother filling
- Regular cheese → Dairy-free cheese alternatives
- Single cheese → Mix of two cheeses for more flavor
Butter Substitutions:
- Regular butter → Plant-based butter
- Butter → Olive oil spray for lighter option
- Softened butter → Mayonnaise (spreads easier and browns well)
Add-In Swaps:
- Ham → Turkey, chicken, or bacon
- Meat → Sliced avocado for vegetarian version
- Regular additions → Sun-dried tomatoes or spinach
- Sweet version → Nutella and banana instead of cheese
Cooking Method Changes:
- Stovetop → Bake in oven at 375°F for 12-15 minutes
- Pan frying → Air fryer at 350°F for 8-10 minutes
- Skillet → Panini press for quicker cooking
Grilled Cheese Roll Ups Variations
From testing new flavors with liam as my eager taste-tester, these variations keep this recipe exciting:
Pizza Style:
- Spread thin layer of pizza sauce on bread
- Add mozzarella cheese and mini pepperoni
- Roll up and cook until cheese melts
- Serve with extra pizza sauce for dipping
Breakfast Version:
- Add scrambled eggs and cooked bacon pieces
- Use cheddar cheese for extra flavor
- Cook until golden and eggs are heated through
- Great for busy morning meals
Apple Pie Sweet:
- Spread cream cheese on flattened bread
- Add thin apple slices and cinnamon sugar
- Roll and cook until golden brown
- Drizzle with caramel sauce after cooking
BBQ Chicken:
- Mix shredded cooked chicken with BBQ sauce
- Add cheddar cheese and thin onion slices
- Roll up and cook until heated through
- Perfect for using leftover chicken
Veggie Delight:
- Layer spinach leaves and sliced tomatoes
- Use Swiss or provolone cheese
- Add thin cucumber slices for crunch
- Cook until vegetables are warmed
Equipment For Grilled Cheese Roll Ups
- Rolling pin for flattening bread evenly
- Sharp knife for trimming crusts cleanly
- Non-stick skillet or griddle
- Thin spatula for easy flipping
- Cutting board for prep work
Storing Your Grilled Cheese Roll Ups
Refrigerator Storage (2-3 days):
- Cool completely before storing to prevent sogginess
- Place in airtight container with parchment paper between layers
- Reheat in skillet over medium heat for 2-3 minutes per side
- Toaster oven works well for reheating without making them soggy
Freezer Storage (1 month):
- Wrap individually in plastic wrap after cooling completely
- Place wrapped roll ups in freezer bags with dates
- Thaw in refrigerator overnight before reheating
- Quality stays decent but texture may be slightly different
Make-Ahead Prep:
- Assemble roll ups and store uncooked in refrigerator up to 4 hours
- Cover with damp paper towel to prevent bread from drying out
- Cook straight from refrigerator - may need extra minute or two
- Great for meal prep or entertaining
Best Storage Practices:
- Never store while still warm as steam makes them soggy
- Don't stack too many layers in containers
- Reheat in dry heat methods only - avoid microwave which makes bread chewy
Top Tip
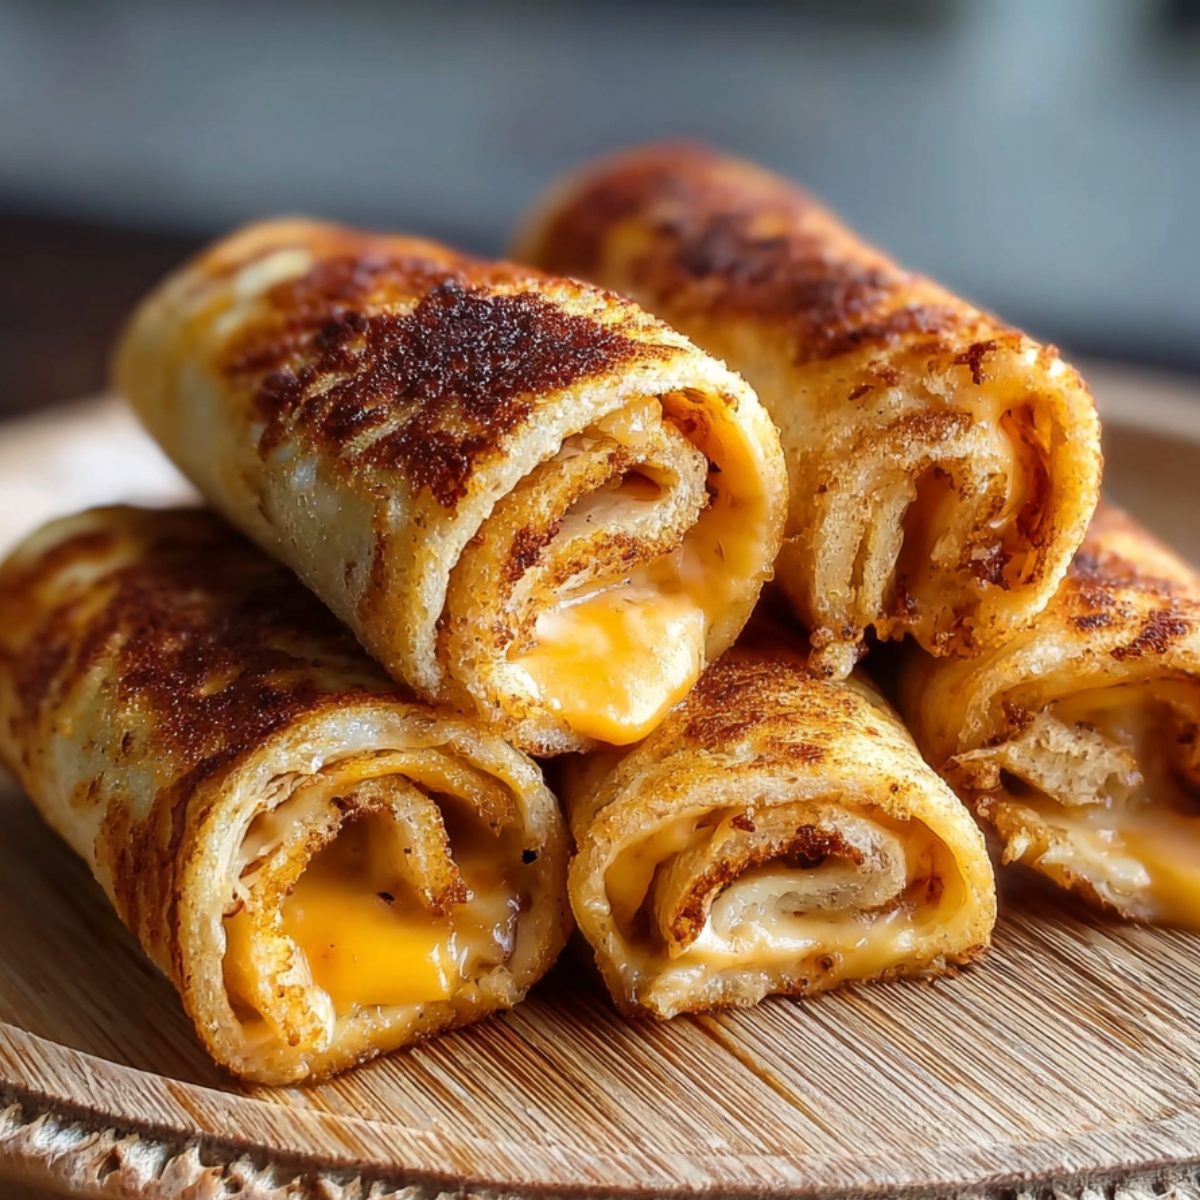
- Preparing these Grilled Cheese Roll Ups for meal prep and lunch boxes has taught me what keeps them fresh and tasty. Refrigerator storage works well for 2-3 days when you cool them completely first and place in an airtight container with parchment paper between layers to prevent sticking. Never store them while still warm because the steam makes the crispy exterior soggy. Reheat in a skillet over medium heat for 2-3 minutes per side or use a toaster oven to restore that crunch - avoid the microwave which makes the bread chewy.
- For longer storage, these Grilled Cheese Roll Ups freeze well for up to a month when wrapped individually in plastic wrap after cooling completely. Place the wrapped roll ups in freezer bags with dates written on them and thaw in the refrigerator overnight before reheating. The quality stays good but the texture may be slightly different after freezing, so they're best enjoyed fresh when possible.
- Make-ahead prep works great when you need to save time during busy periods. You can assemble the roll ups and store them uncooked in the refrigerator for up to 4 hours before cooking. Cover them with a damp paper towel to prevent the bread from drying out, then cook straight from the refrigerator - they may need an extra minute or two to heat through properly.
My Aunt's Secret Worth Sharing
My Aunt discovered her trick for grilled cheese roll ups back in the 1980s when she was trying to feed five picky kids on a tight budget. Instead of just using butter on the outside like everyone else, she would spread a thin layer of mayonnaise on the flattened bread before adding the cheese. "Mayo browns better than butter," she'd explain, and she was right - the mayonnaise created this golden, crispy crust that stayed crunchy even after cooling.
But her real secret was in the cheese mixture. She would combine two parts shredded cheddar with one part cream cheese that she'd softened to room temperature. The cream cheese acted like glue, keeping everything together during rolling, while the cheddar provided that classic grilled cheese flavor everyone expected. The combination melted smoothly and never leaked out the ends like regular shredded cheese sometimes did. Now I always keep this grilled cheese roll ups technique in mind when I want them to look good for company or when liam's friends are coming over for lunch.
FAQ
What are grilled cheese roll ups?
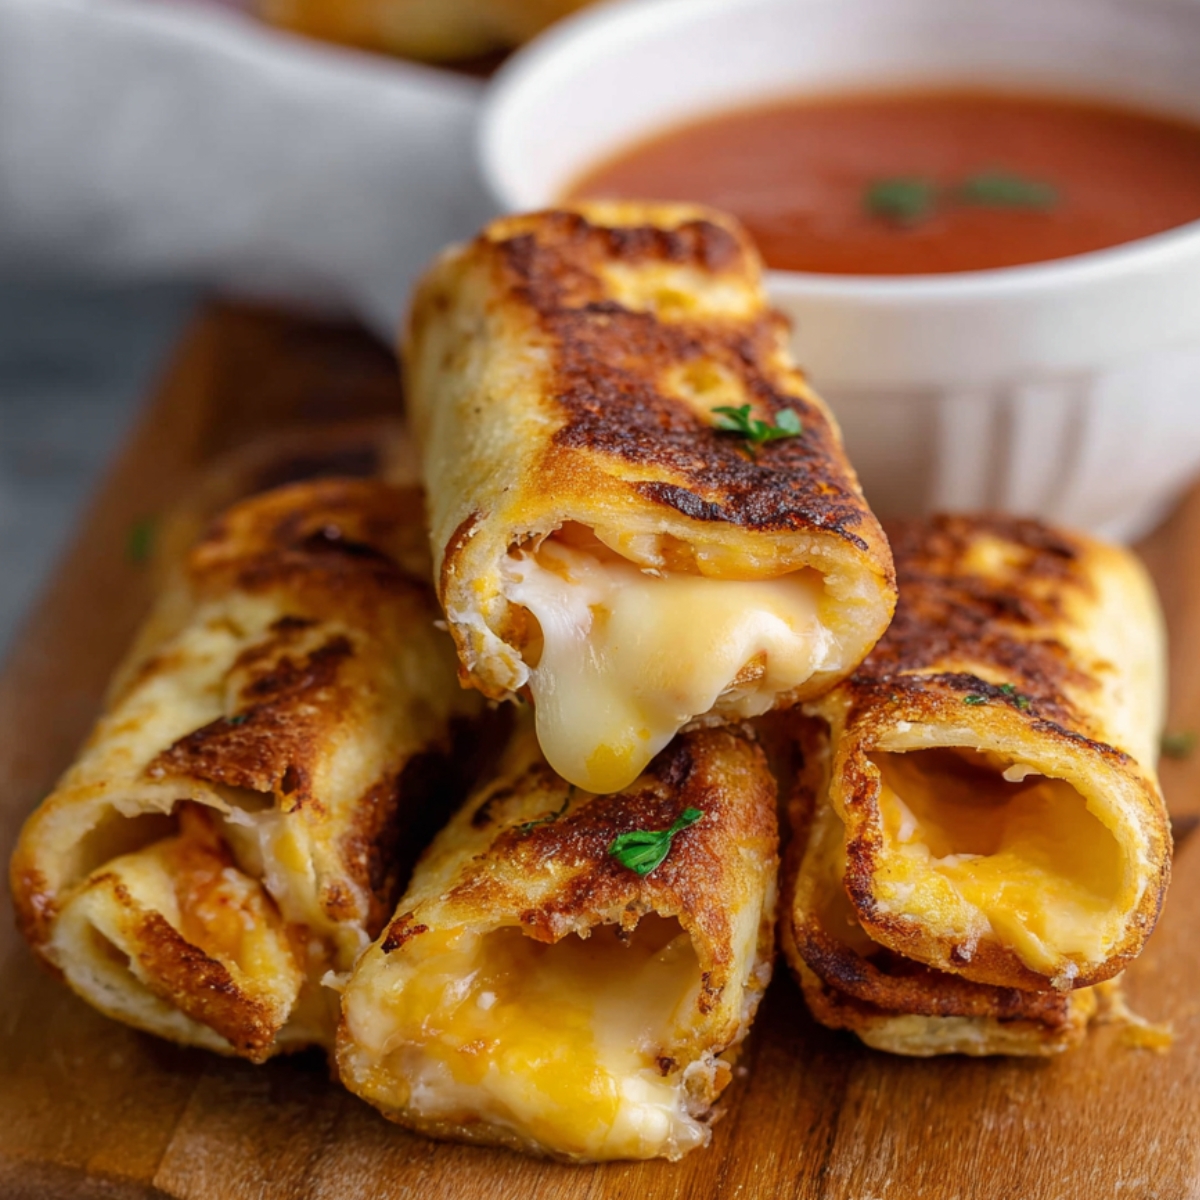
Grilled cheese roll ups are flattened bread slices filled with cheese and rolled up, then cooked until crispy on all sides. They're basically grilled cheese sandwiches in a different shape that creates more crispy surface area and makes them easier for kids to eat.
What did Gordon Ramsay put in his grilled cheese?
Gordon Ramsay's grilled cheese includes Romano and Asiago cheeses, kimchi, and butter on both sides of sourdough bread. His version is quite different from basic grilled cheese roll ups, focusing on fancy ingredients rather than kid-friendly simplicity.
How do you make a toasted cheese roll?
Flatten bread with a rolling pin, add cheese and any fillings, roll tightly, then cook in a buttered pan over medium heat. Turn frequently to brown all sides evenly - about 8-10 minutes total cooking time.
How to make grilled cheese wraps?
Use tortillas instead of bread for grilled cheese wraps. Add cheese and fillings to one side, roll tightly, then cook seam-side down first in a buttered pan. Cook until golden and cheese melts, turning as needed.
Time for Crispy, Cheesy Comfort!
Now you have all the secrets to creating grilled cheese roll ups that beat regular sandwiches every time - from proper bread flattening to Aunt Carol's mayonnaise trick. These fun twists on classic grilled cheese prove that sometimes the simplest changes make the biggest difference. The rolling technique gives you more crispy edges and keeps all that melted cheese contained, making them easier for kids to eat and less messy for parents to clean up. What started as liam's request for something "less boring" has become one of our most requested lunch options.
Craving more homemade treats that bring families together? Try our classic Best Lemon Drizzle Cake Recipe that delivers that balance of tender sponge and tangy glaze for afternoon tea - it's the kind of cake that makes any day feel special. Want something rich and indulgent? Our The Best Butter Pecan Tres Leches Cake combines Southern flavors with Latin American technique for a dessert that gets better overnight and impresses every guest. Need something quick for unexpected guests? Our Easy Sawdust Pie Recipe Ready in 20 minutes delivers Southern charm without the wait, using simple ingredients to create something that tastes like it took hours to prepare.
Share your Grilled Cheese Roll Ups success! We love seeing your crispy creations and hearing which variations your family tried. Did you stick with classic cheese or experiment with the pizza version? Maybe you tried the breakfast style with eggs? Every family seems to find their own favorite combinations, and that's what makes cooking so rewarding.
Rate this Grilled Cheese Roll Ups and join our cooking community! Your feedback helps us keep sharing recipes that work for busy families. When you tell us how the rolling technique worked and any changes you made, it helps other home cooks too. Plus, we love hearing the stories about how your kids reacted to these "fancy" grilled cheese and whether they wanted to help with the rolling process.
Related
Looking for other recipes like this? Try these:
Pairing
These are my favorite dishes to serve with Grilled Cheese Roll Ups

Grilled Cheese Roll Ups
Ingredients
Equipment
Method
- Trim crusts, flatten bread slices with rolling pin until about half thickness.
- Spread thin layer of butter, sprinkle cheese, add optional fillings, season lightly.
- Roll tightly from one edge, press seam side down, brush outside with butter.
- Heat skillet medium, cook seam-side down first 2-3 minutes, then roll to brown all sides (8-10 minutes total).
- Remove when golden and cheese is melted. Serve warm.




Leave a Reply