
Creamy, crunchy, chocolatey, and completely no-bake - this Peanut Butter Butterfinger Pie is the kind of dessert that makes people go quiet for a second after the first bite. The buttery graham cracker crust, the fluffy peanut butter cream cheese filling loaded with chopped Butterfingers, and that silky chocolate ganache on top? It's a lot. In the best possible way.
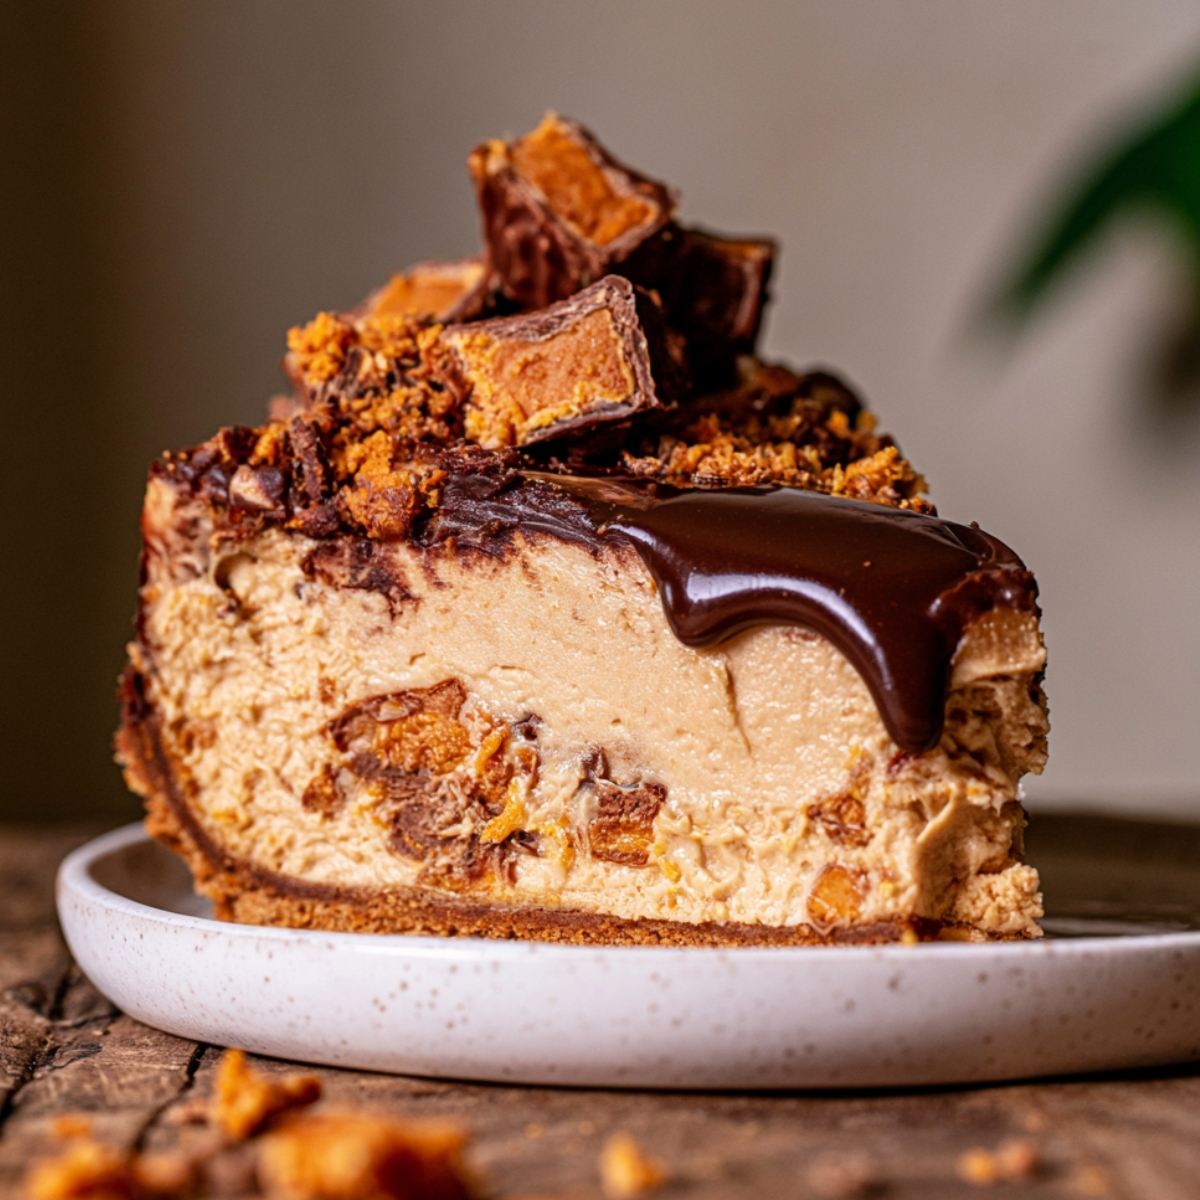
I first made this on a whim before a holiday dinner, and honestly it was easier than I expected - no oven, just a mixer and some patience while it chills. If you love rich, make-ahead desserts like this Vanilla Bean Cheesecake or my French Silk Brownies, you're going to want to add this one to your rotation too.
What You'll Love This Peanut Butter Butterfinger Pie
- No oven needed - everything is chilled, not baked
- The filling is creamy and fluffy, not dense or heavy
- Butterfingers melt into the filling and give you crunch in every bite
- Ganache takes five minutes to make and makes the pie look incredible
- Feeds a crowd - 16 slices from one 9-inch pie
- You can make it the night before and forget about it until dessert time
Jump to:
- What You'll Love This Peanut Butter Butterfinger Pie
- Peanut Butter Butterfinger Pie Ingredients
- How to Make Peanut Butter Butterfinger Pie
- Substitutions and Swaps
- Equipment For Peanut Butter Butterfinger Pie
- Storage Tips For Peanut Butter Butterfinger Pie
- Serving Suggestions
- Expert Tips
- FAQ
- Related
- Pairing
- No-Bake Peanut Butter Butterfinger Pie
Peanut Butter Butterfinger Pie Ingredients
Here's a short breakdown of everything you'll need and why each piece matters.
See Recipe Card Below This Post For Ingredient Quantities
Graham Cracker Crust
- Graham cracker crumbs: The base of everything. Fine crumbs pack together tightly and give you that classic, slightly sweet crust that holds its shape when sliced.
- Brown sugar: Adds a warm, caramel-like sweetness to the crust. Light or dark both work fine here.
- Unsalted butter, melted: This is what holds the crust together and gives it that buttery, crisp texture. Using unsalted keeps you in control of the salt level.
Butterfinger Pie Filling
- Cream cheese, room temperature: This is your base. It gives the filling structure, a slight tang, and that cheesecake-like richness. Room temperature is important - cold cream cheese won't blend smooth.
- Creamy peanut butter: Adds the classic peanut butter flavor and keeps the filling thick and scoopable. Stick with a standard creamy peanut butter for best texture.
- Pure vanilla extract: A small amount that rounds out all the flavors and makes everything taste a little warmer.
- Powdered sugar: Sweetens the filling without any gritty texture. Split between the cream cheese mixture and the whipped cream.
- Cold heavy cream: Whipped to stiff peaks, this is what makes the filling light and mousse-like instead of dense. Cold cream whips faster and holds better.
- Chopped Butterfingers: The star of the show. They add a honeycomb crunch and a butterscotch-toffee flavor that runs through every bite of the filling.
Chocolate Ganache
- Semi-sweet chocolate chips: Melts into a smooth, rich ganache. Semi-sweet keeps it from being too sweet on top of the already sweet filling.
- Heavy cream: When heated and poured over the chips, it creates that glossy, pourable ganache that sets up perfectly on top of the cold pie.
- Chopped Butterfingers, for decoration: Scattered on top right before serving. Adds crunch and makes the pie look bakery-ready.
How to Make Peanut Butter Butterfinger Pie
Here's everything in order, keeping it as simple as possible.
Graham Cracker Crust
Prep your pan: Spray a 9-inch springform pan with nonstick baking spray and set it aside. A springform pan makes it so much easier to remove and slice the pie cleanly.
Make the crumbs: Blend your graham crackers in a food processor until you have fine, even crumbs. No big chunks - fine crumbs pack together much better.
Mix the crust: In a bowl, combine the graham cracker crumbs, brown sugar, and melted butter. Stir with a fork until everything is evenly moistened and the mixture looks like damp sand.
Press and pack: Pour the crumb mixture into the prepared pan and press it firmly up the sides and across the bottom, extending about halfway up the sides. Use the flat bottom of a measuring cup to press it down firmly - the more compact, the better it holds.
Freeze while you work: Pop the crust into the freezer while you make the filling. This helps it firm up and stay in place.
Butterfinger Pie Filling
Chop your candy bars: Break the Butterfingers into small, uneven pieces. Don't overthink the size - you want some variation so you get different amounts of crunch in each bite.
Beat cream cheese and peanut butter: Using a mixer, beat the cream cheese and peanut butter together on high speed for 2 minutes. You want it completely smooth with no lumps.
Add sugar and vanilla: Add the vanilla extract and 1 cup of powdered sugar, then mix until smooth and creamy.
Whip the cream: In a separate metal bowl using a whisk attachment, beat the cold heavy cream with the remaining ¼ cup of powdered sugar on high speed until stiff peaks form. The cream should hold its shape when you lift the whisk.
Fold together: Gently fold the whipped cream into the cream cheese mixture using a rubber spatula. Take your time - about 2 minutes of slow, careful folding. You want to keep the air in the cream so the filling stays light.
Add the Butterfingers: Once the filling is almost fully combined, gently fold in the chopped Butterfingers. A few more folds and you're done.
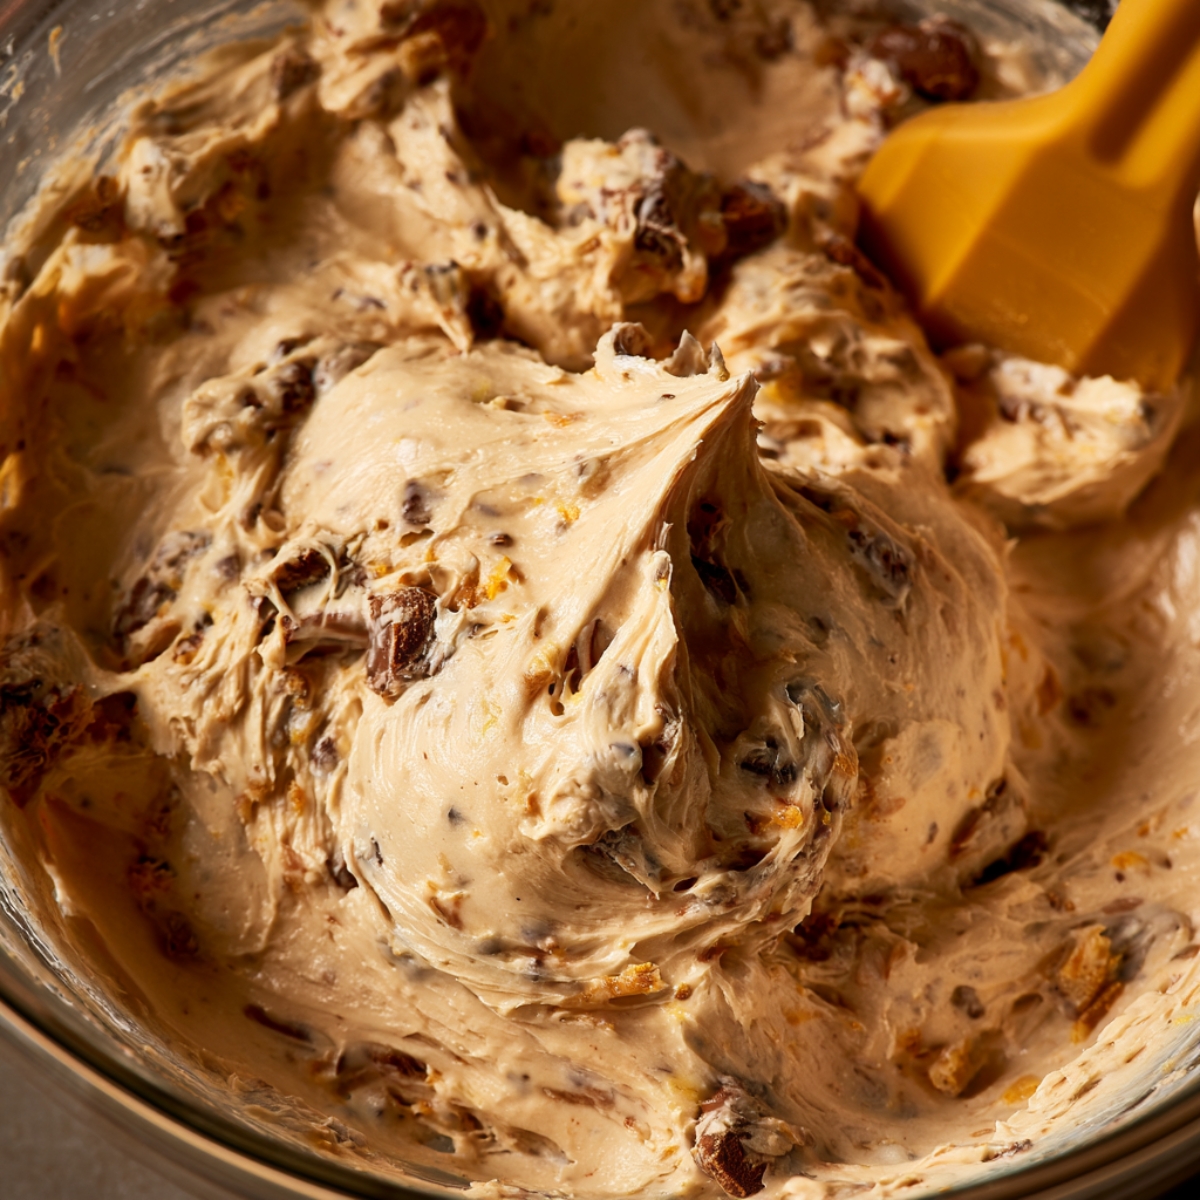
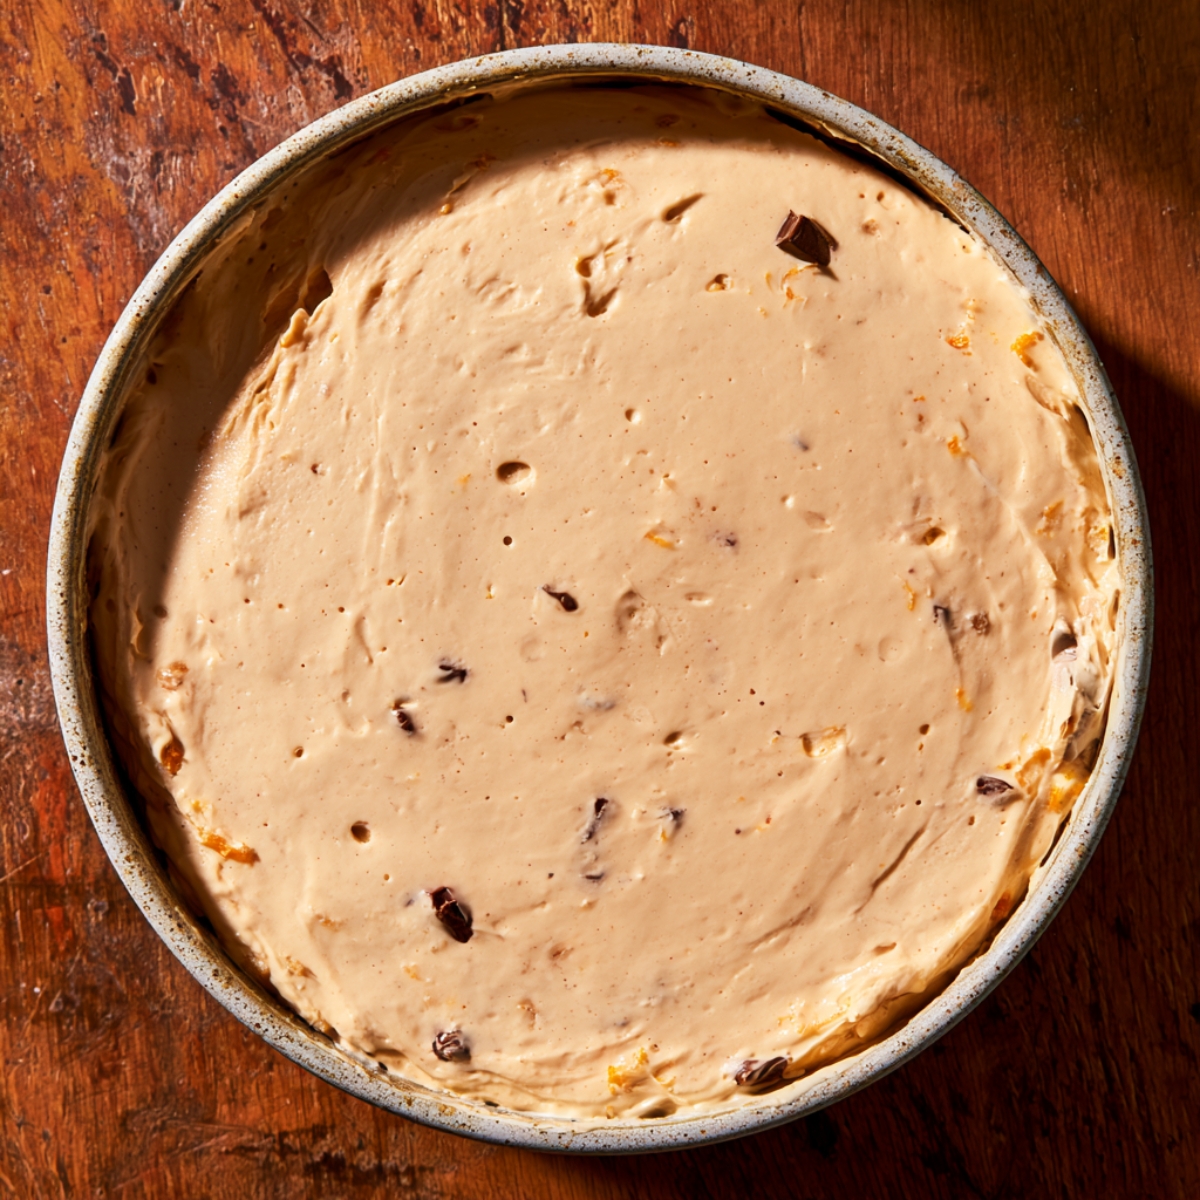
Fill and smooth: Spread the filling evenly over your frozen crust. Smooth the top with an offset spatula. Cover with foil and refrigerate for at least 6 hours, or overnight.
Chocolate Ganache
Melt the chocolate: Place the chocolate chips in a small bowl. Heat the heavy cream in a small saucepan over medium-low heat until it's just steaming - not boiling.
Pour and wait: Pour the hot cream over the chocolate chips and let it sit for 2 minutes without touching it.
Stir until smooth: Stir with a rubber spatula until the ganache is completely smooth and glossy. If any chips are still unmelted, microwave the whole bowl for 10 seconds and stir again.
Release the pie: Carefully loosen the edges of the chilled pie with a butter knife or straight icing spatula, then release the springform sides. Transfer to a serving platter if you'd like.
Top with ganache: Pour the ganache over the chilled pie and spread it evenly with an offset spatula.
Set it quickly: Place the pie in the freezer for 10 minutes so the ganache sets up firm and smooth.
Decorate and serve: Scatter chopped Butterfingers over the top right before serving.
Substitutions and Swaps
Graham crackers - Oreo cookie crumbs or Biscoff cookie crumbs work really well here and add a different depth of flavor.
Creamy peanut butter - Almond butter or sunflower seed butter can be used if there's a peanut allergy. The flavor will be different but the texture holds fine.
Butterfingers - Heath bars, Reese's Pieces, or Snickers chopped small all work as mix-in swaps. The filling will taste different but still be delicious.
Semi-sweet chocolate chips - Milk chocolate chips make the ganache sweeter and a little softer. Dark chocolate chips make it more intense.
Heavy cream (ganache) - Canned full-fat coconut cream can substitute in a pinch. The ganache may set slightly softer.
Equipment For Peanut Butter Butterfinger Pie
- 9-inch springform pan
- Nonstick baking spray
- Food processor
- Mixing bowls
- Stand mixer or hand mixer with whisk attachment
- Fork
- Rubber spatula
- Offset spatula or offset icing spatula
- Measuring cup (for pressing crust)
- Small saucepan
- Small bowl
- Butter knife or straight icing spatula
- Serving platter (optional)
Storage Tips For Peanut Butter Butterfinger Pie
Refrigerator: Cover the Peanut Butter Butterfinger Pie tightly with plastic wrap or store in an airtight container in the fridge for up to 5 days. The crust softens slightly over time but the flavor actually gets better.
Freezer: This Peanut Butter Butterfinger Pie freezes beautifully. Wrap individual slices or the whole pie tightly and freeze for up to 2 months. Thaw in the refrigerator overnight before serving.
Make-ahead: This is one of the best make-ahead desserts you can put together. Make it the day before, let it chill overnight, and add the ganache and candy topping the next day right before serving.
Serving Suggestions
- Serve each slice cold, straight from the fridge, with a small scoop of vanilla ice cream on the side.
- A drizzle of warm peanut butter over the ganache just before serving adds an extra layer that peanut butter lovers will obsess over.
- Pair with a hot mug of coffee or a cold glass of milk - both are great with the rich chocolate and peanut butter flavors.
- Serve alongside a fruit-forward dessert like these Peach Crumb Bars if you're doing a dessert table - the contrast works really well.
Expert Tips
Use room-temperature cream cheese. If the cream cheese is cold, it won't blend smoothly and you'll end up with lumps in the filling. Pull it from the fridge at least 30 minutes before you start.
Don't rush the fold. When you combine the whipped cream and cream cheese mixture, go slowly. Rough mixing will knock all the air out and make the filling dense instead of light and fluffy.
Let the ganache cool slightly before pouring. If the ganache is still hot when it hits the cold Peanut Butter Butterfinger Pie , it can cause condensation and the topping won't look as clean. Give it 3 to 5 minutes to cool a little before spreading.
FAQ
How do you make Peanut Butter Butterfinger Pie?
You make a buttery graham cracker crust, press it into a springform pan, and freeze it while you make the filling. The filling comes together by beating cream cheese and peanut butter smooth, then folding in whipped cream and chopped Butterfingers. After at least 6 hours of chilling, you top it with a quick chocolate ganache and more candy. It's a simple no-bake Peanut Butter Butterfinger Pie that looks way more impressive than the effort it takes.
Can Peanut Butter Butterfinger Pie be made ahead of time?
It's actually better when made ahead. The filling needs at least 6 hours to set, so making it the night before is the smartest move. You can hold off on the ganache and candy topping until right before serving for the freshest look. This candy bar pie recipe is a natural for parties and holidays because the hard work is done in advance.
How long should a no-bake peanut butter pie chill?
At minimum, 6 hours in the refrigerator. Overnight is even better. The filling firms up as it chills, so the longer it sits, the cleaner your slices will be. If you want to speed things up slightly, you can chill it in the freezer for 2 to 3 hours, but the fridge is the better option for texture.
What is the best crust for a no-bake peanut butter pie?
A graham cracker crust is the classic choice for a no-bake Peanut Butter Butterfinger Pie because it's sturdy enough to hold the filling and has a sweet, slightly salty flavor that pairs well with peanut butter and chocolate. Pressing it firmly and letting it freeze while you make the filling helps it hold its shape. Oreo or Biscoff crumbs are a great swap if you want a different flavor base.
Related
Looking for other recipes like this? Try these:
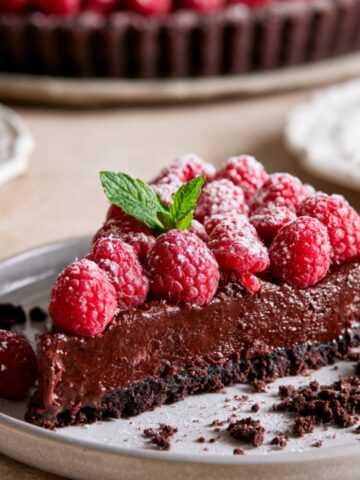
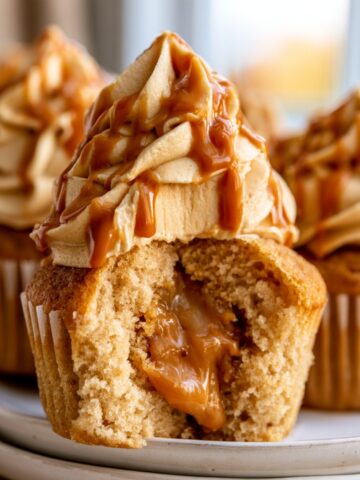
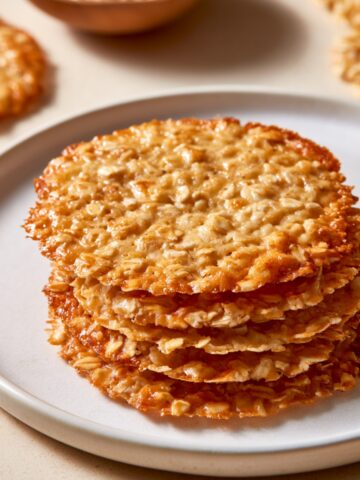
Pairing
These are my favorite dishes to serve with Peanut Butter Butterfinger Pie


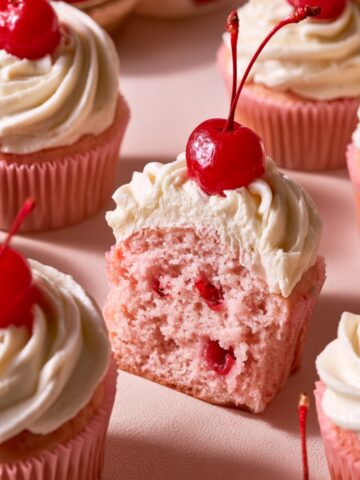
No-Bake Peanut Butter Butterfinger Pie
Ingredients
Method
- Lightly coat a 9-inch springform pan with nonstick spray and set it aside while preparing the crust.
- Combine the graham cracker crumbs, brown sugar, and melted butter until every crumb is evenly coated.
- Firmly press the crumb mixture into the bottom and halfway up the sides of the pan, then freeze while making the filling.
- Cut the Butterfinger candy into small bite-sized pieces and set aside for folding into the filling.
- Beat the softened cream cheese and peanut butter until smooth and creamy, then blend in the vanilla extract and powdered sugar until fully incorporated.
- In a separate chilled bowl, whip the heavy cream with the powdered sugar until stiff peaks form.
- Fold the whipped cream gently into the peanut butter mixture until almost combined, then carefully fold in the chopped Butterfinger pieces.
- Spread the filling evenly into the prepared crust and smooth the top with an offset spatula. Cover and refrigerate for at least 6 hours or overnight until fully set.
- Place the chocolate chips in a heatproof bowl. Heat the heavy cream until steaming, pour it over the chocolate, and let it stand for 2 minutes.
- Stir the chocolate mixture until silky and smooth. If needed, microwave in 10-second intervals, stirring between each, until completely melted.
- Release and remove the springform ring, then transfer the chilled pie to a serving platter if desired.
- Spread the ganache evenly over the top, chill for about 10 minutes until slightly firm, then finish with chopped Butterfinger candy before serving. finish

Leave a Reply